
OpenLiteSpeed 웹어드민 도메인 연결
OpenLiteSpeed 의 웹어드민은 기본적으로 https://192.168.0.1:7080 과 같이 접속하게 된다. 이것을 도메인 https://webadmin.chicpro.dev 연결해서 접속하는 방법을 알아보자.
OpenLiteSpeed 설치는 Ubuntu 22.04 서버에 OpenLiteSpeed 웹서버 세팅 를 참고하면 된다.
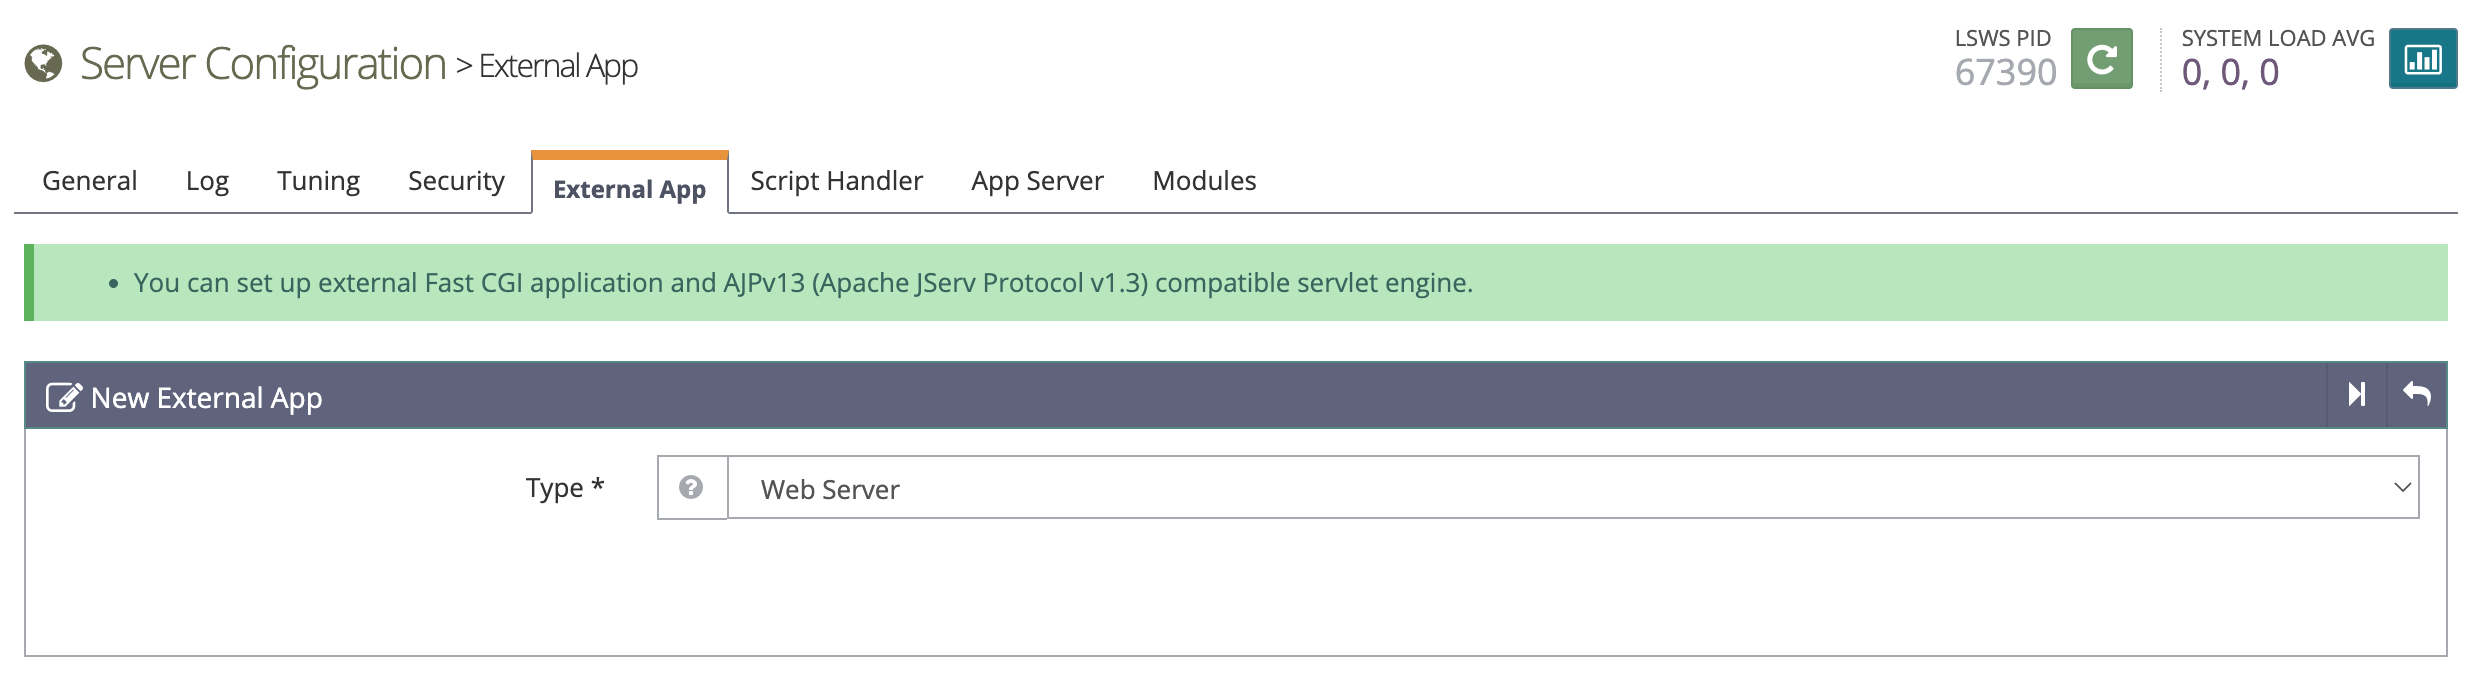
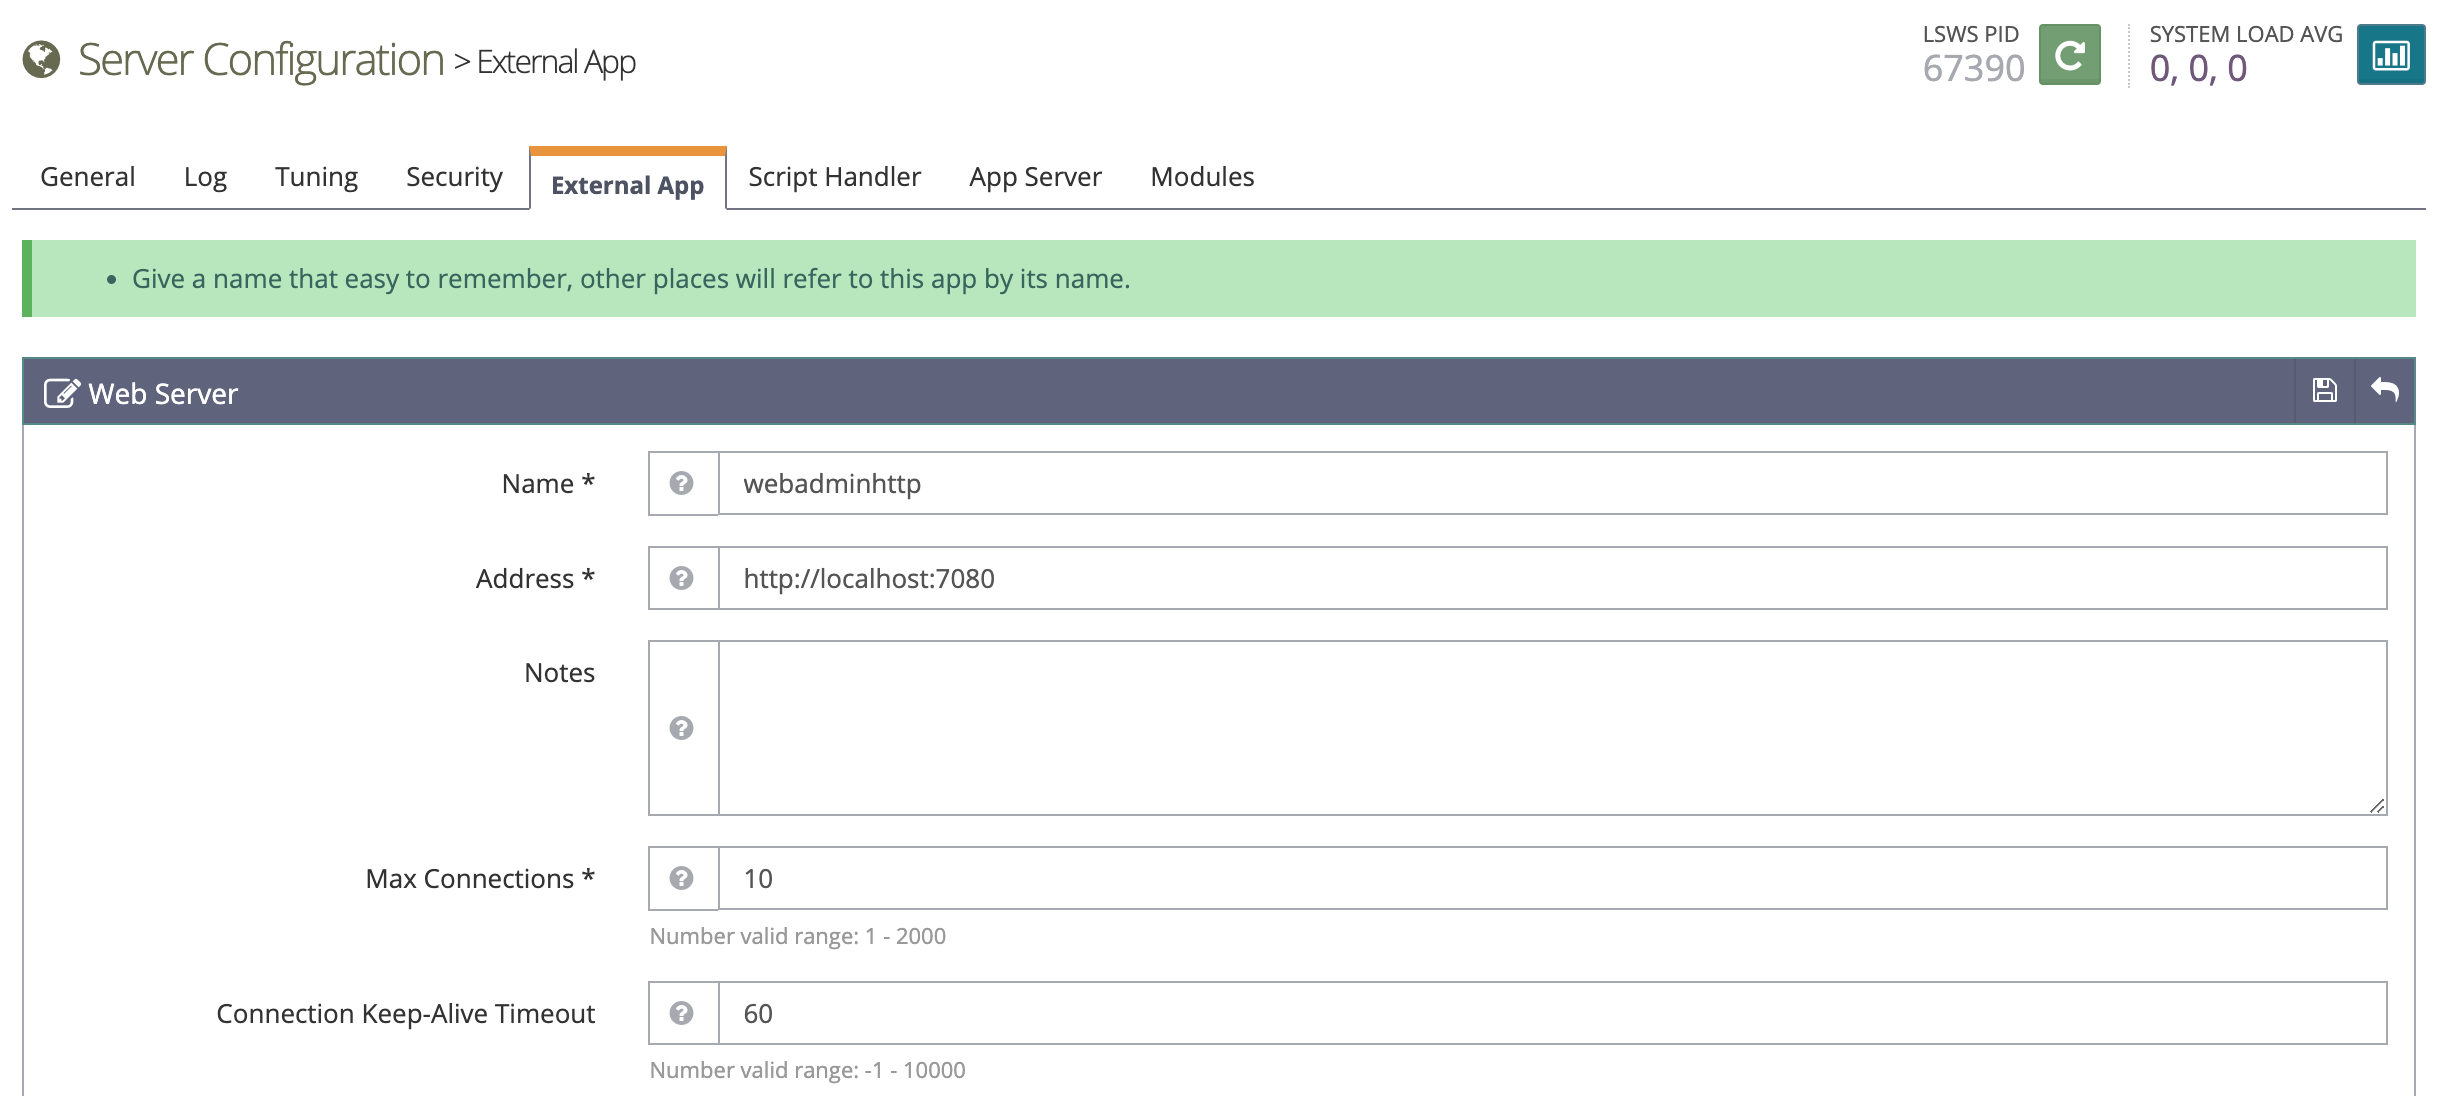
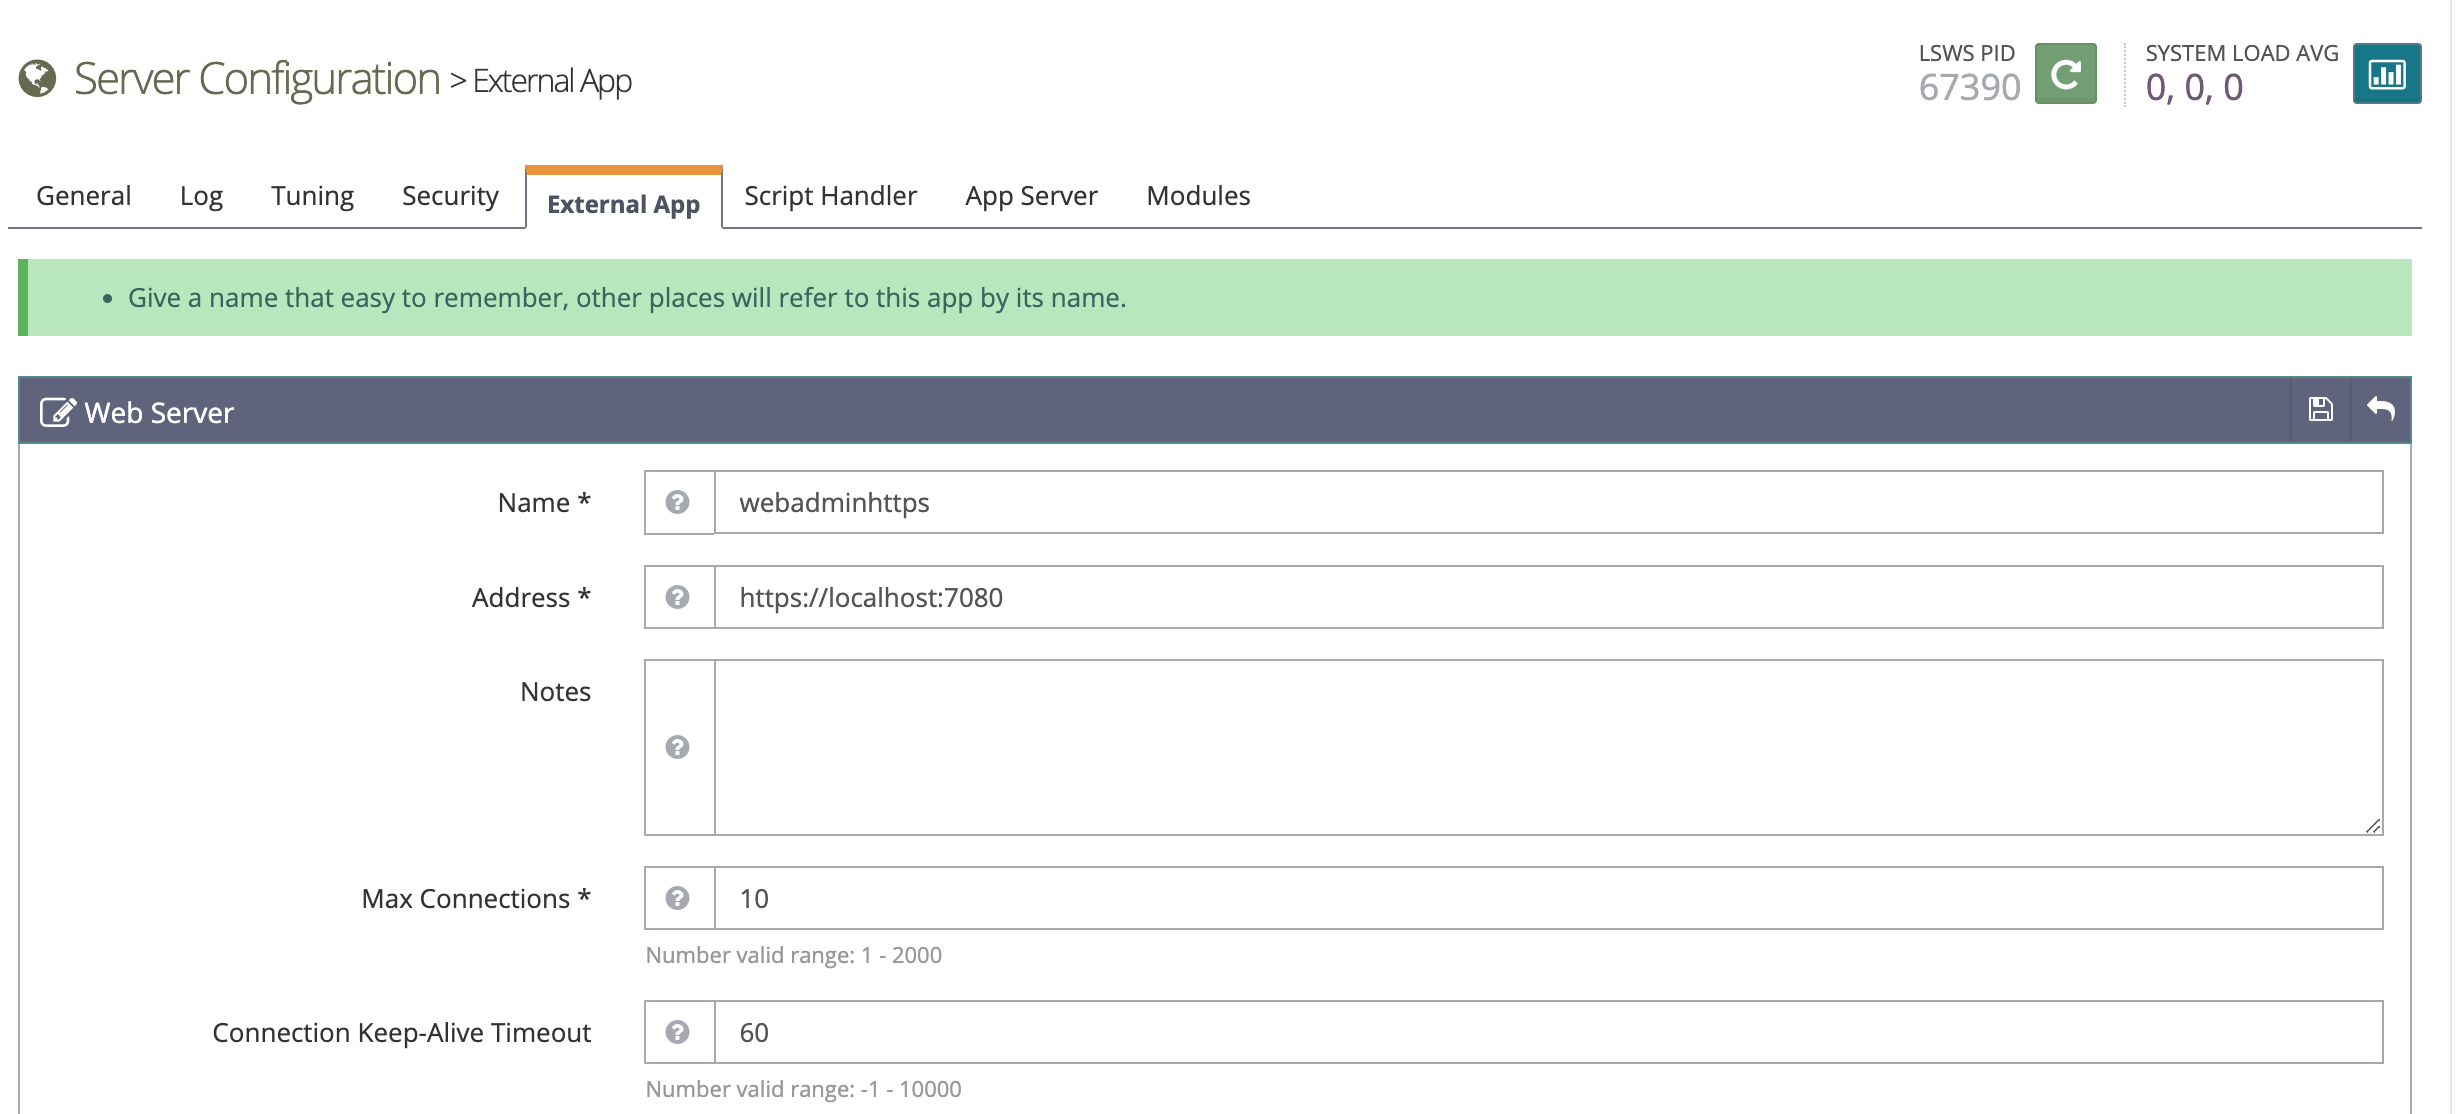
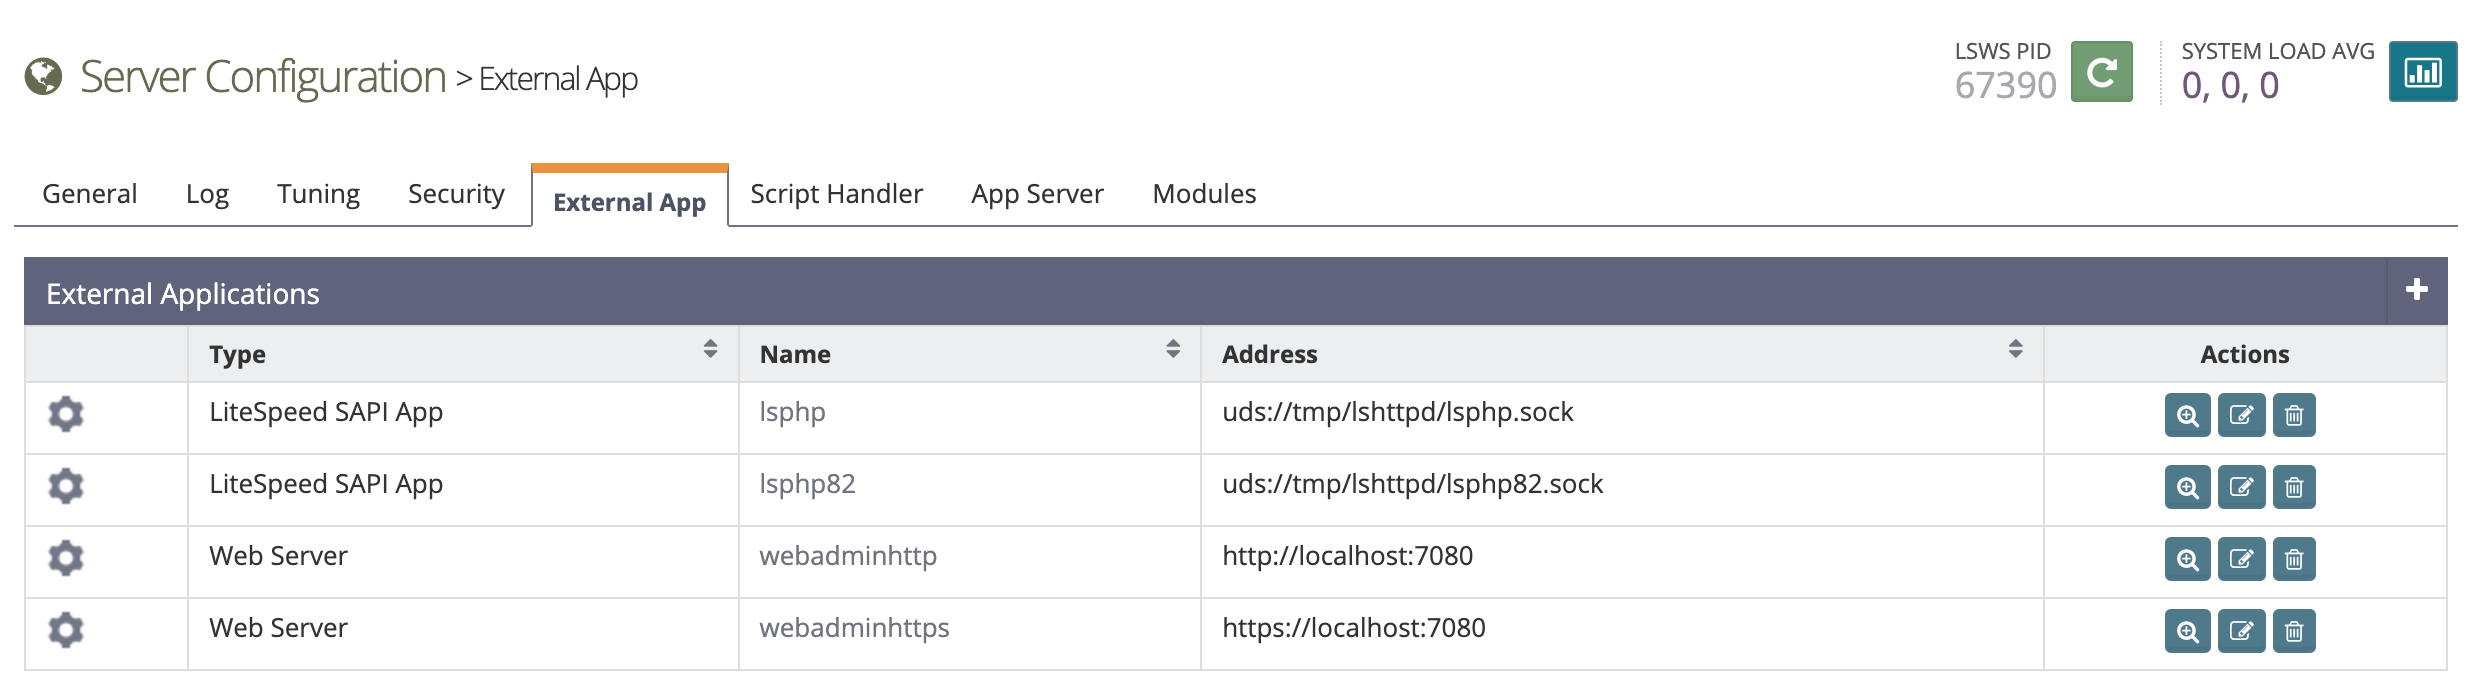
우선 웹어드민 환경에 접속한 후 External App 을 추가해 준다. App 은 http와 https 를 구분해서 각각 등록해야 한다.
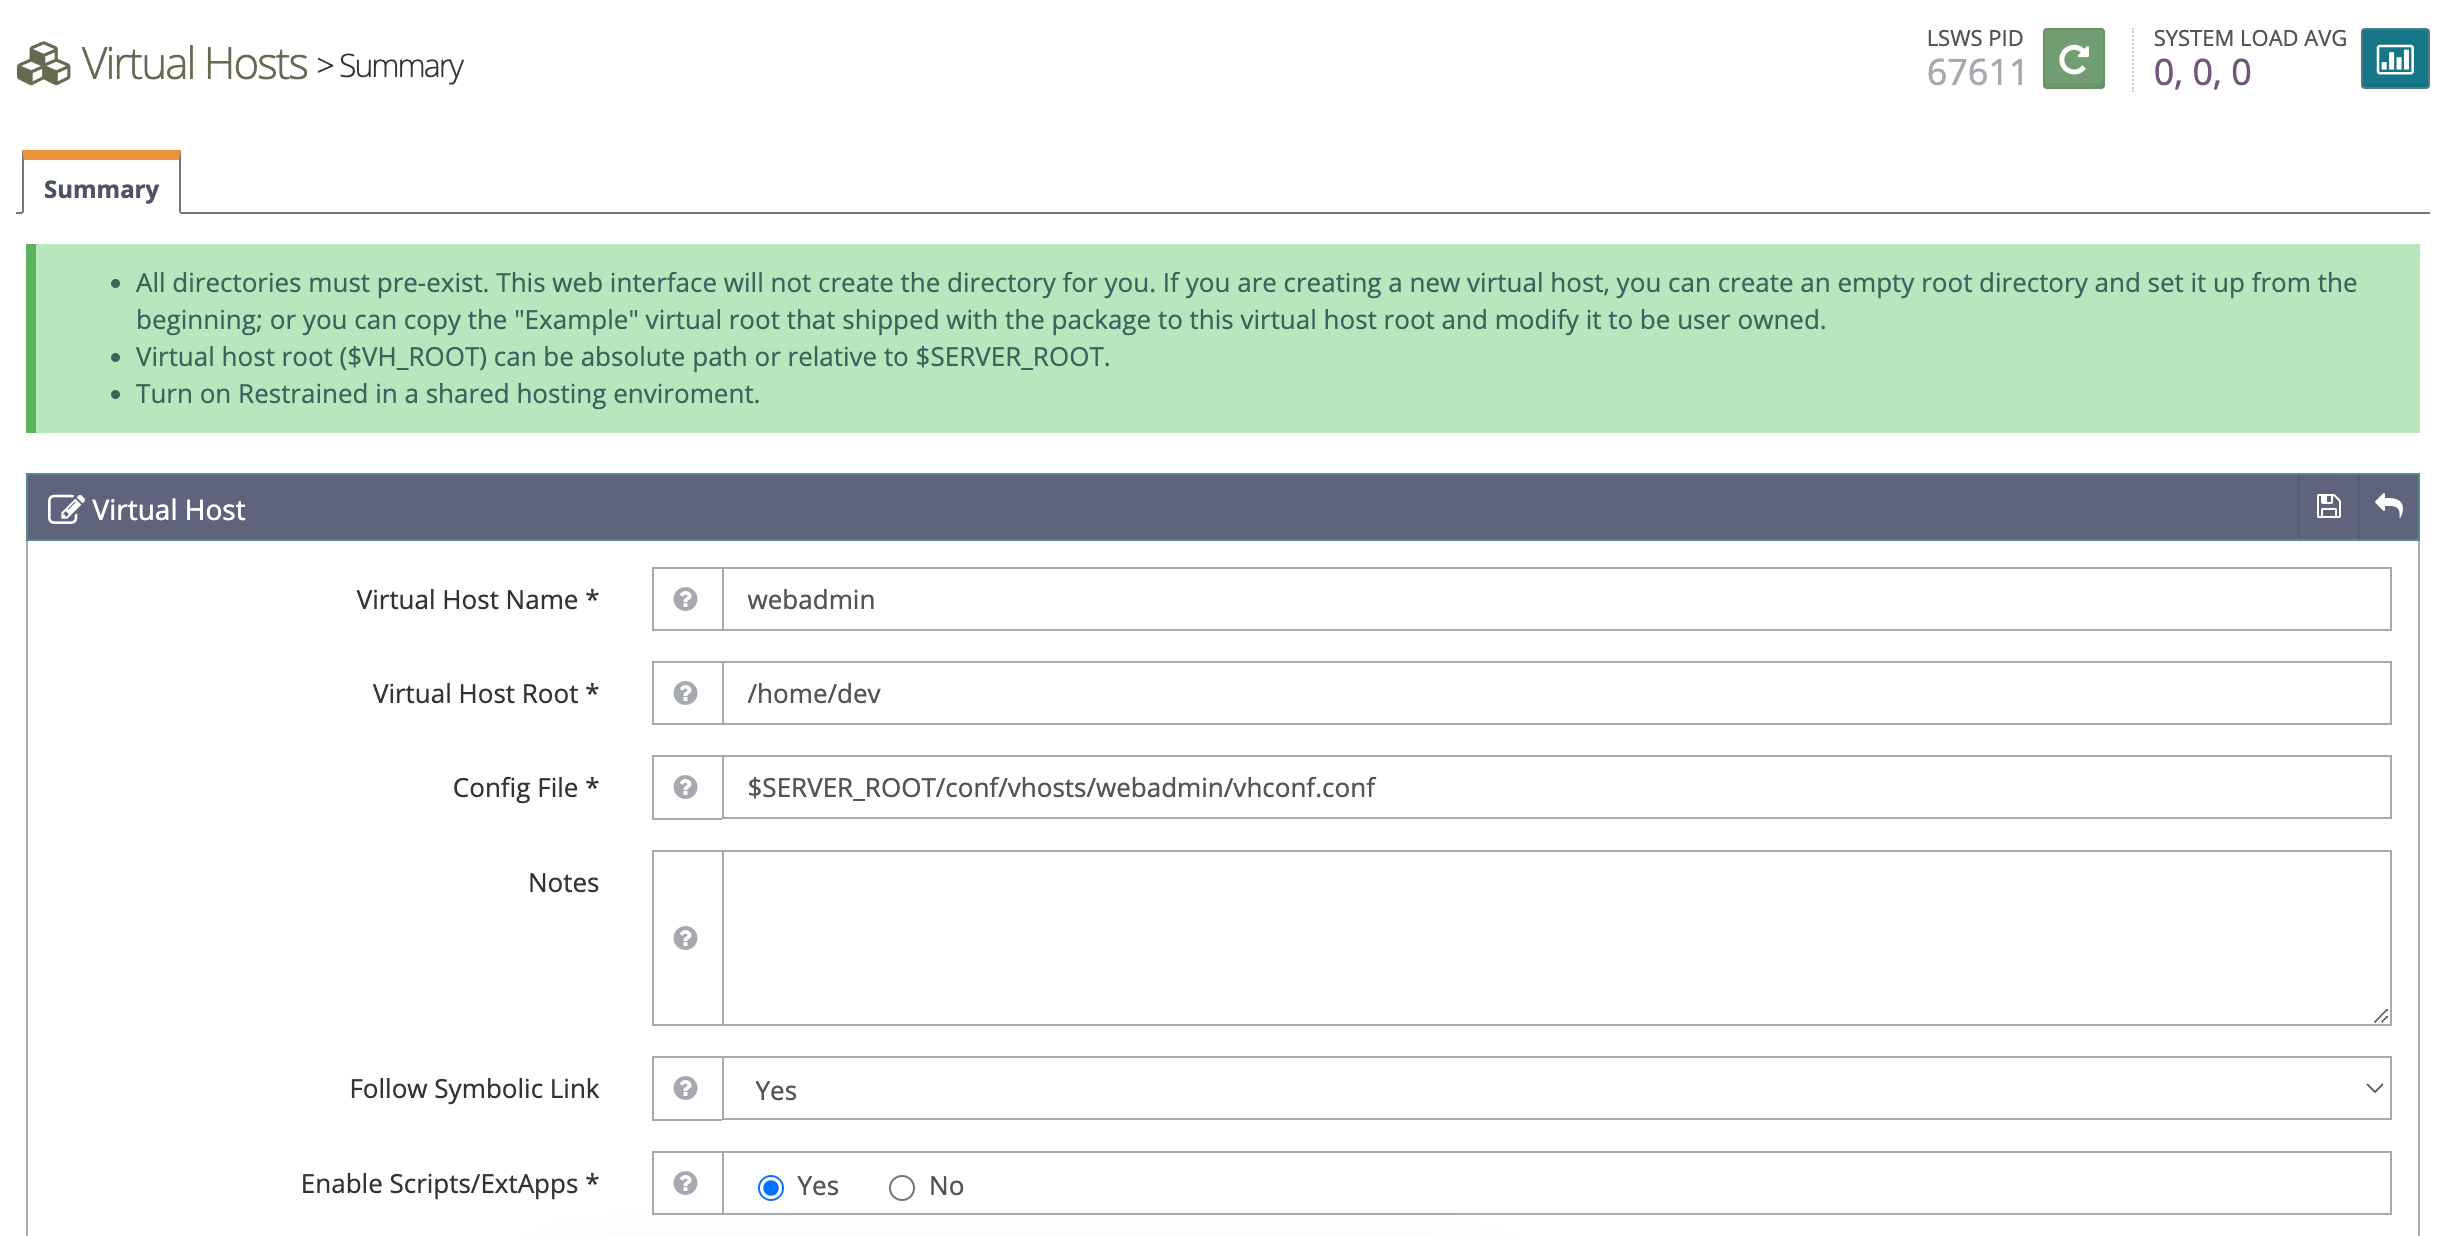
다음으로 Virtual Host 를 추가해 준다.
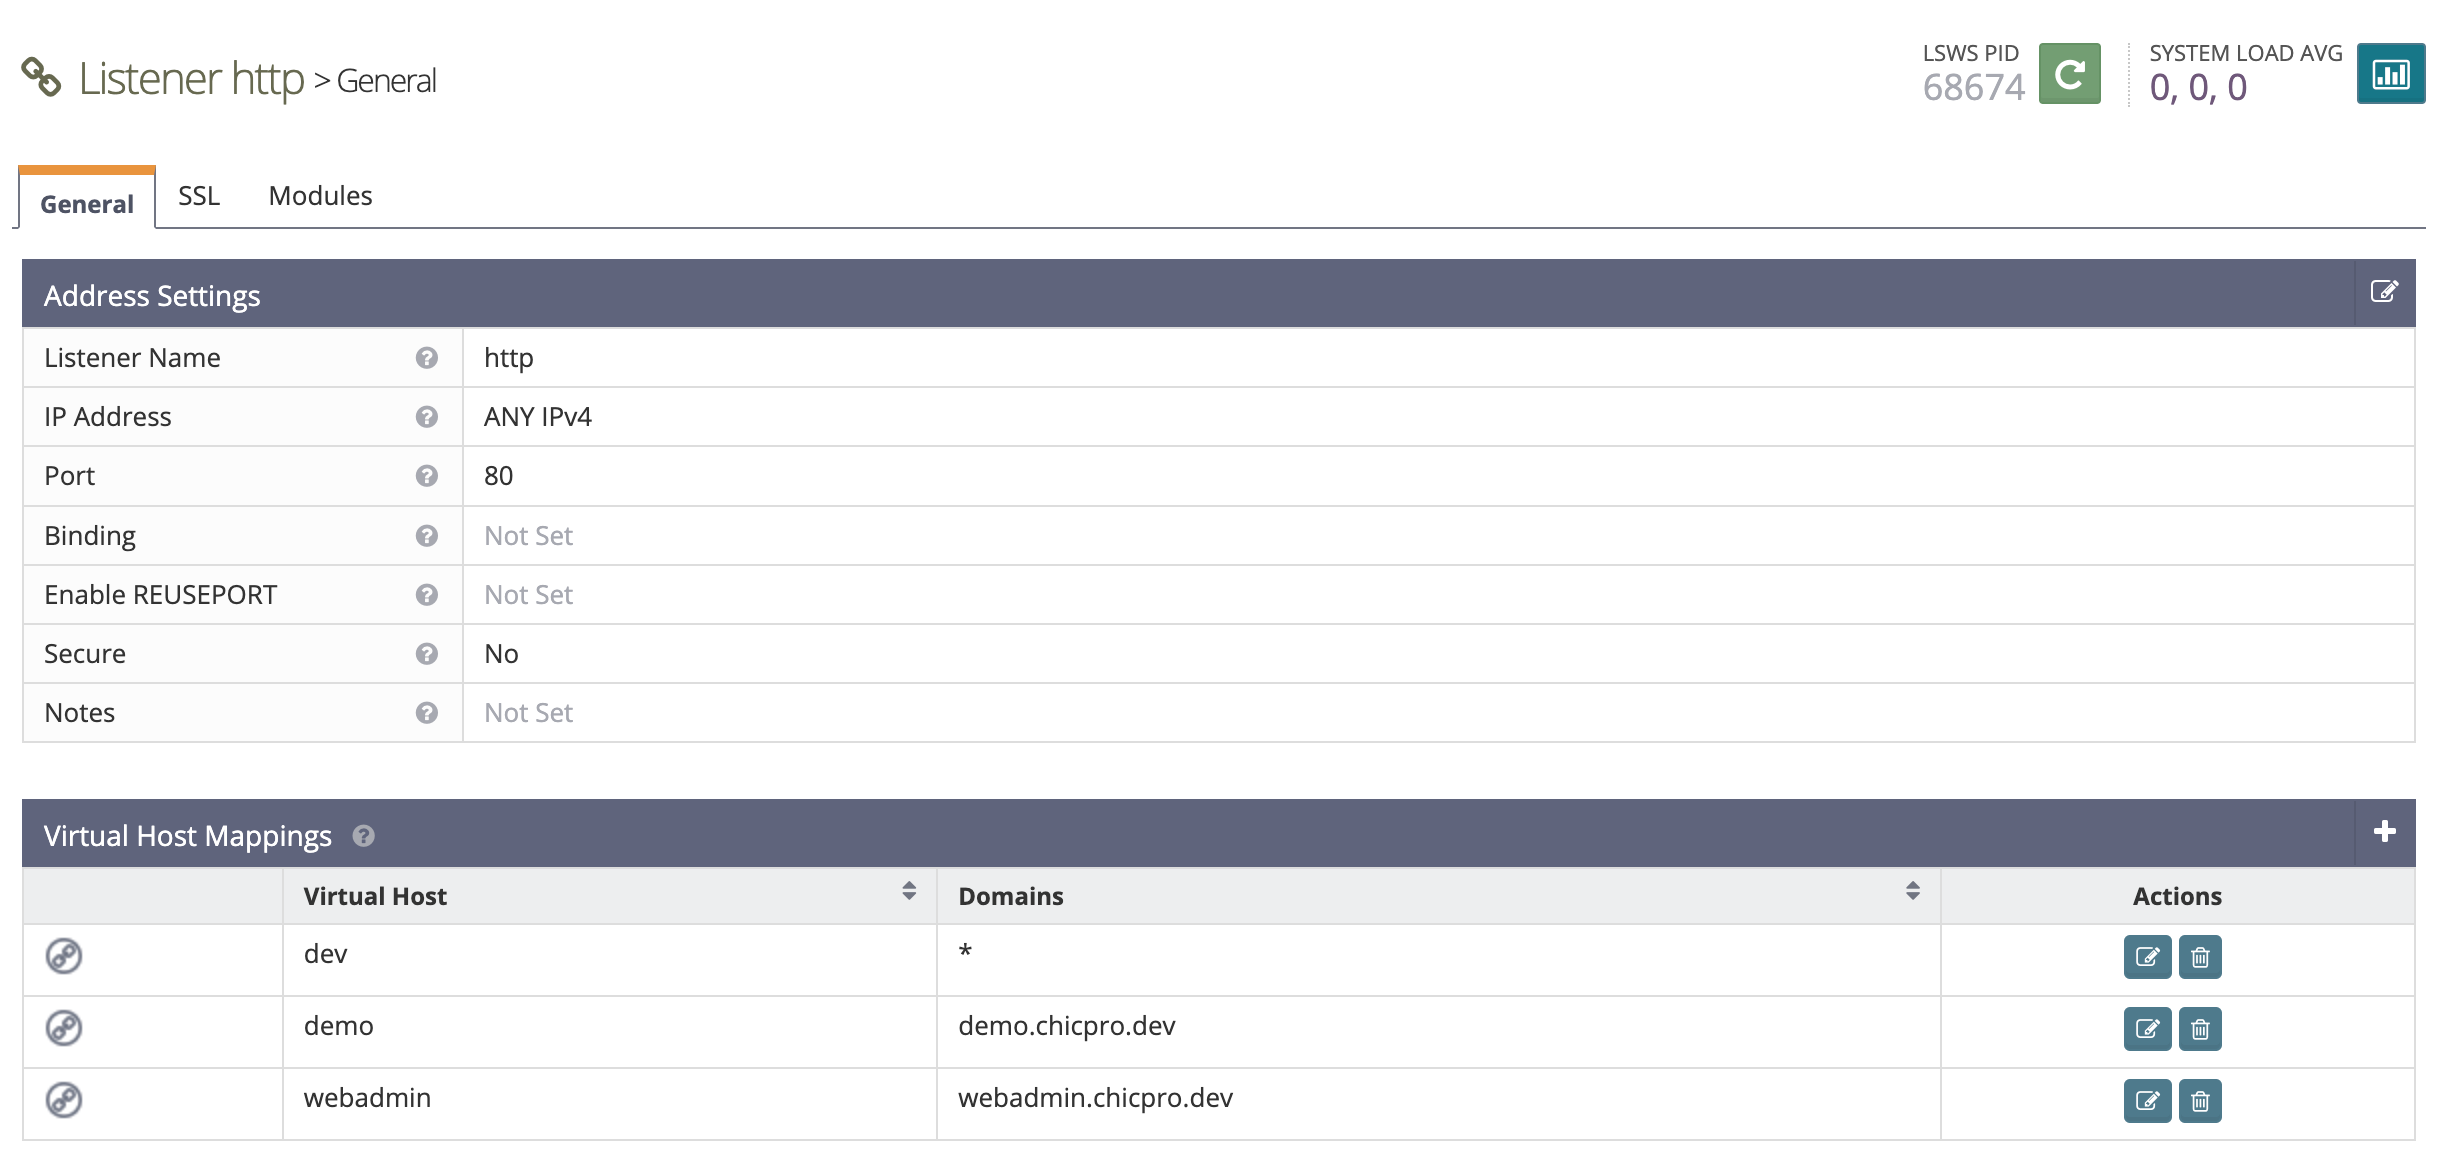
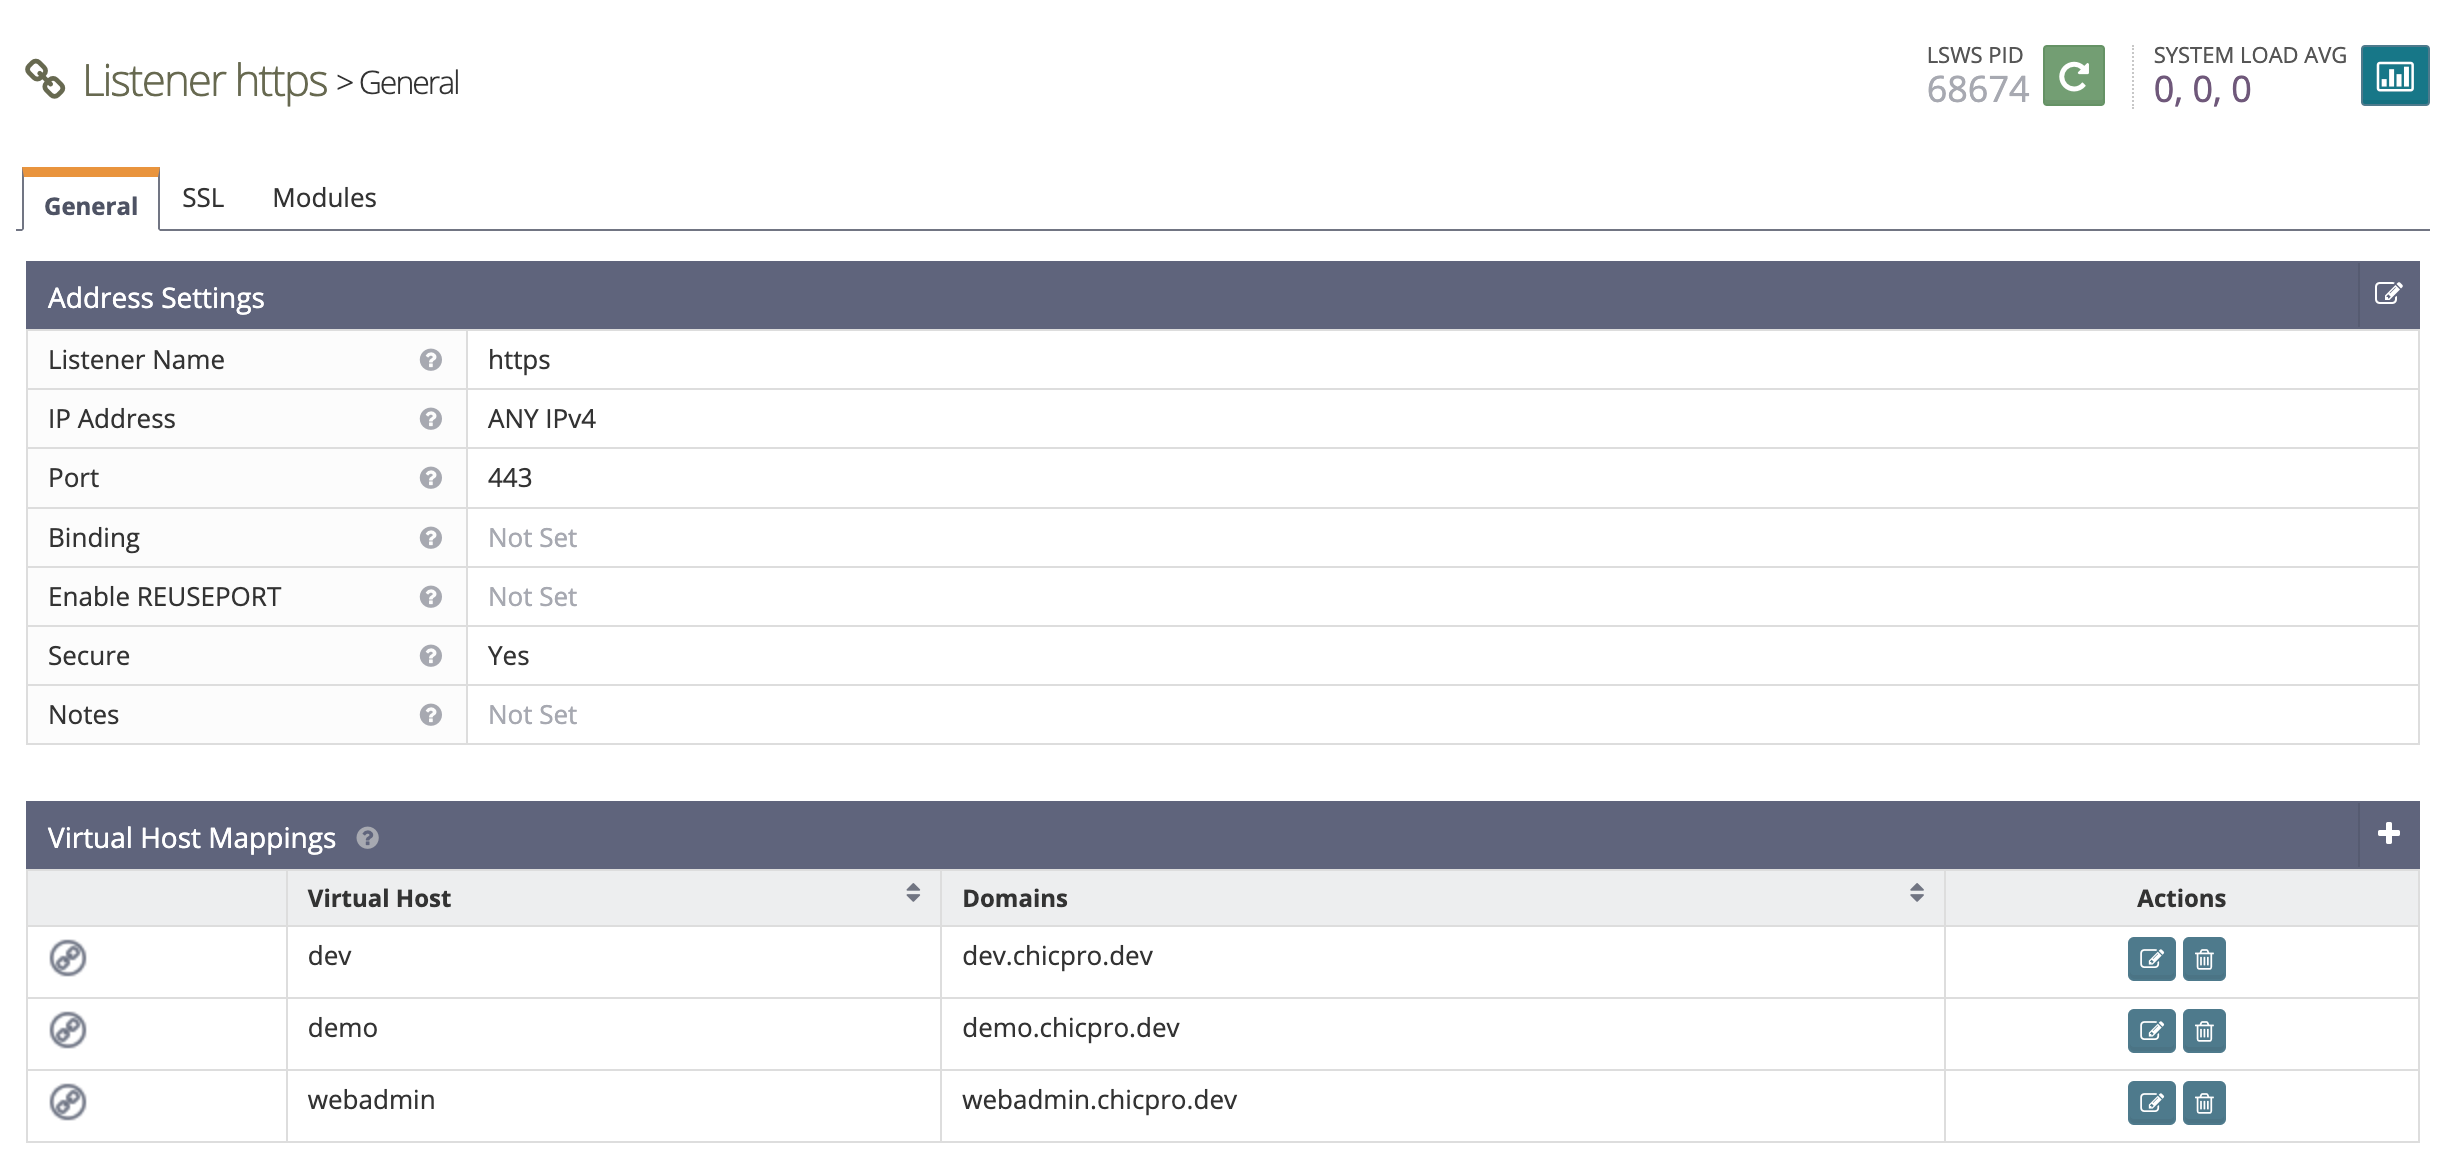
Virtual Host 추가 후 Listener 설정에 추가한 Virtual Host 를 추가한다.
Listener 추가 후 certbot 명령을 이용해 SSL 인증서를 발급한다.
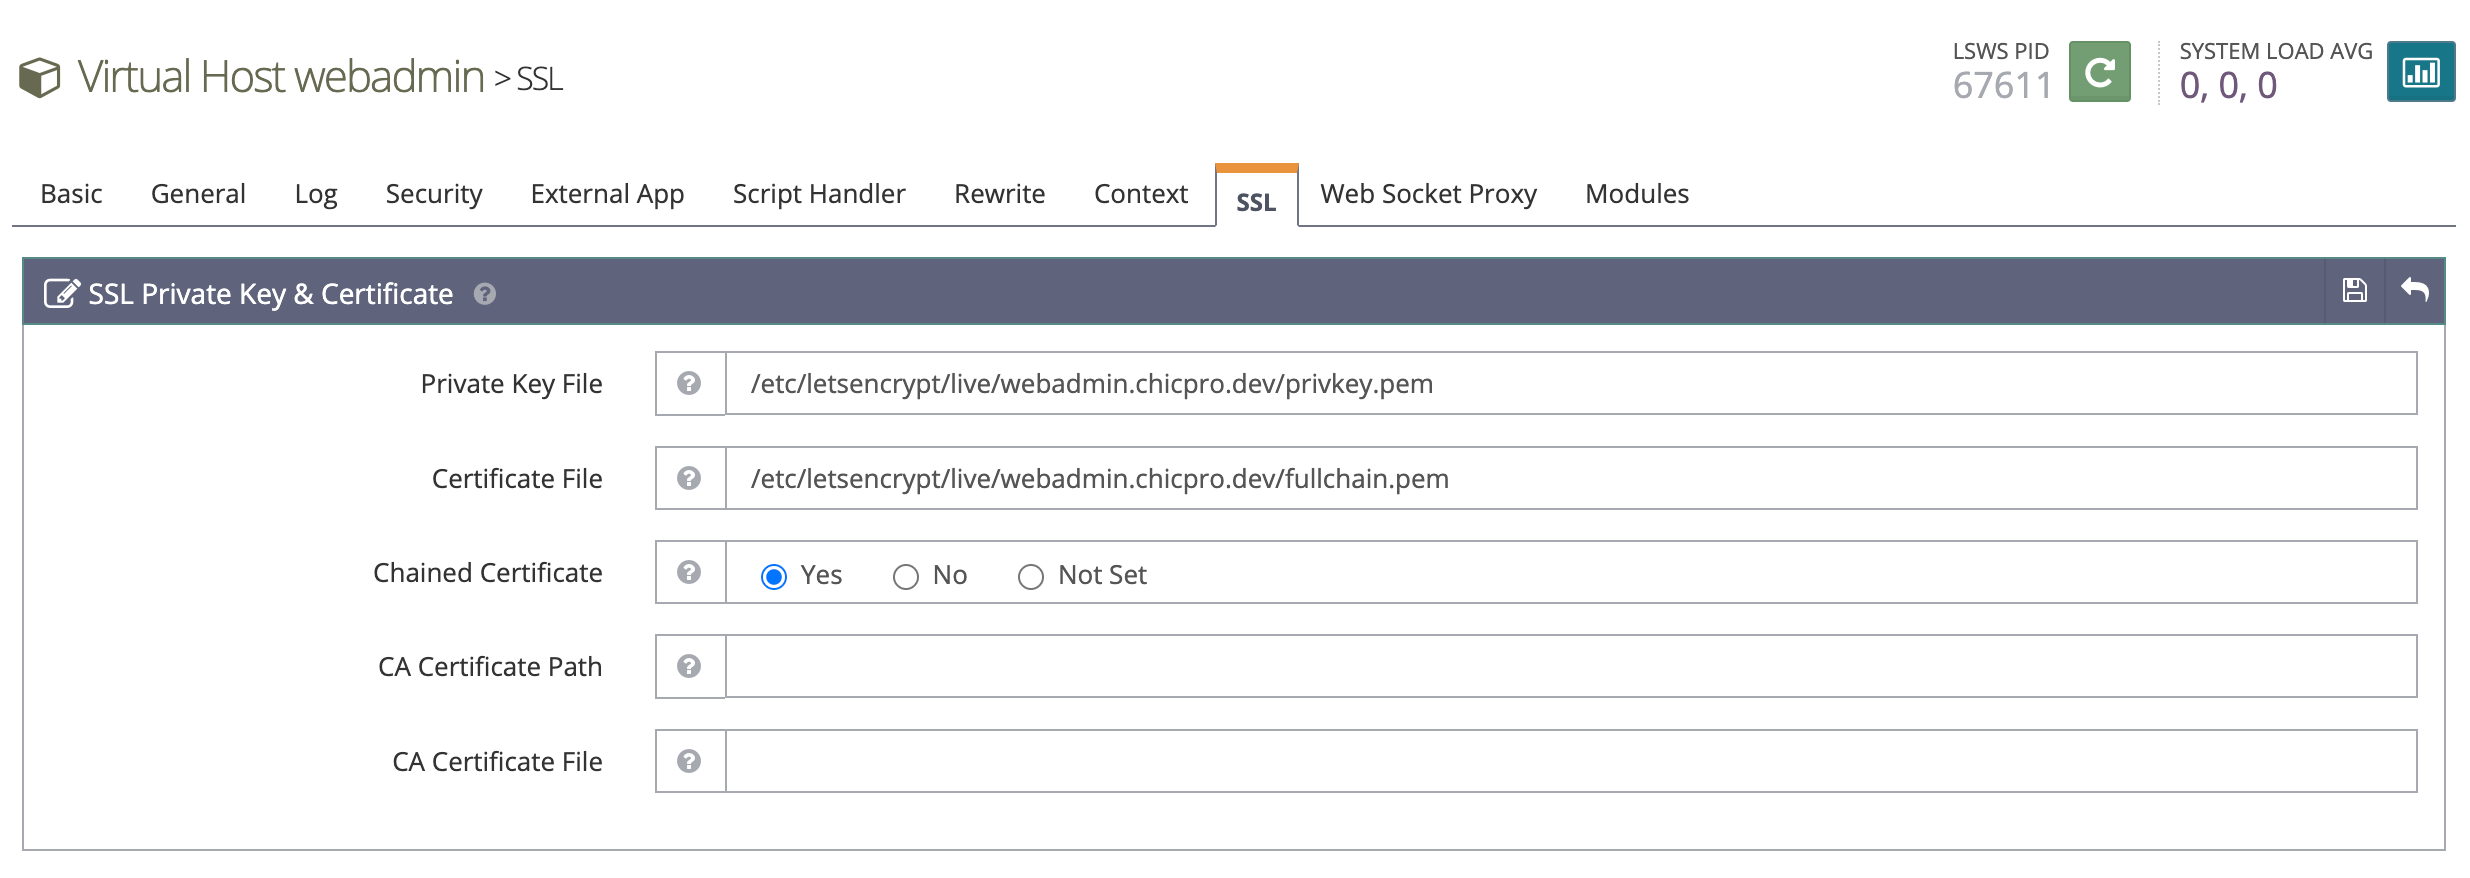
certbot certonly --webroot -w /home/dev/webadmin/ -d webadmin.chicpro.dev인증서 발급 완료 후 Virtual Host 설정에서 SSL 인증서 경로를 설정한다.
접속 요청을 위에서 추가한 App 으로 전달하기 위해 Rewrite 설정을 추가한다.
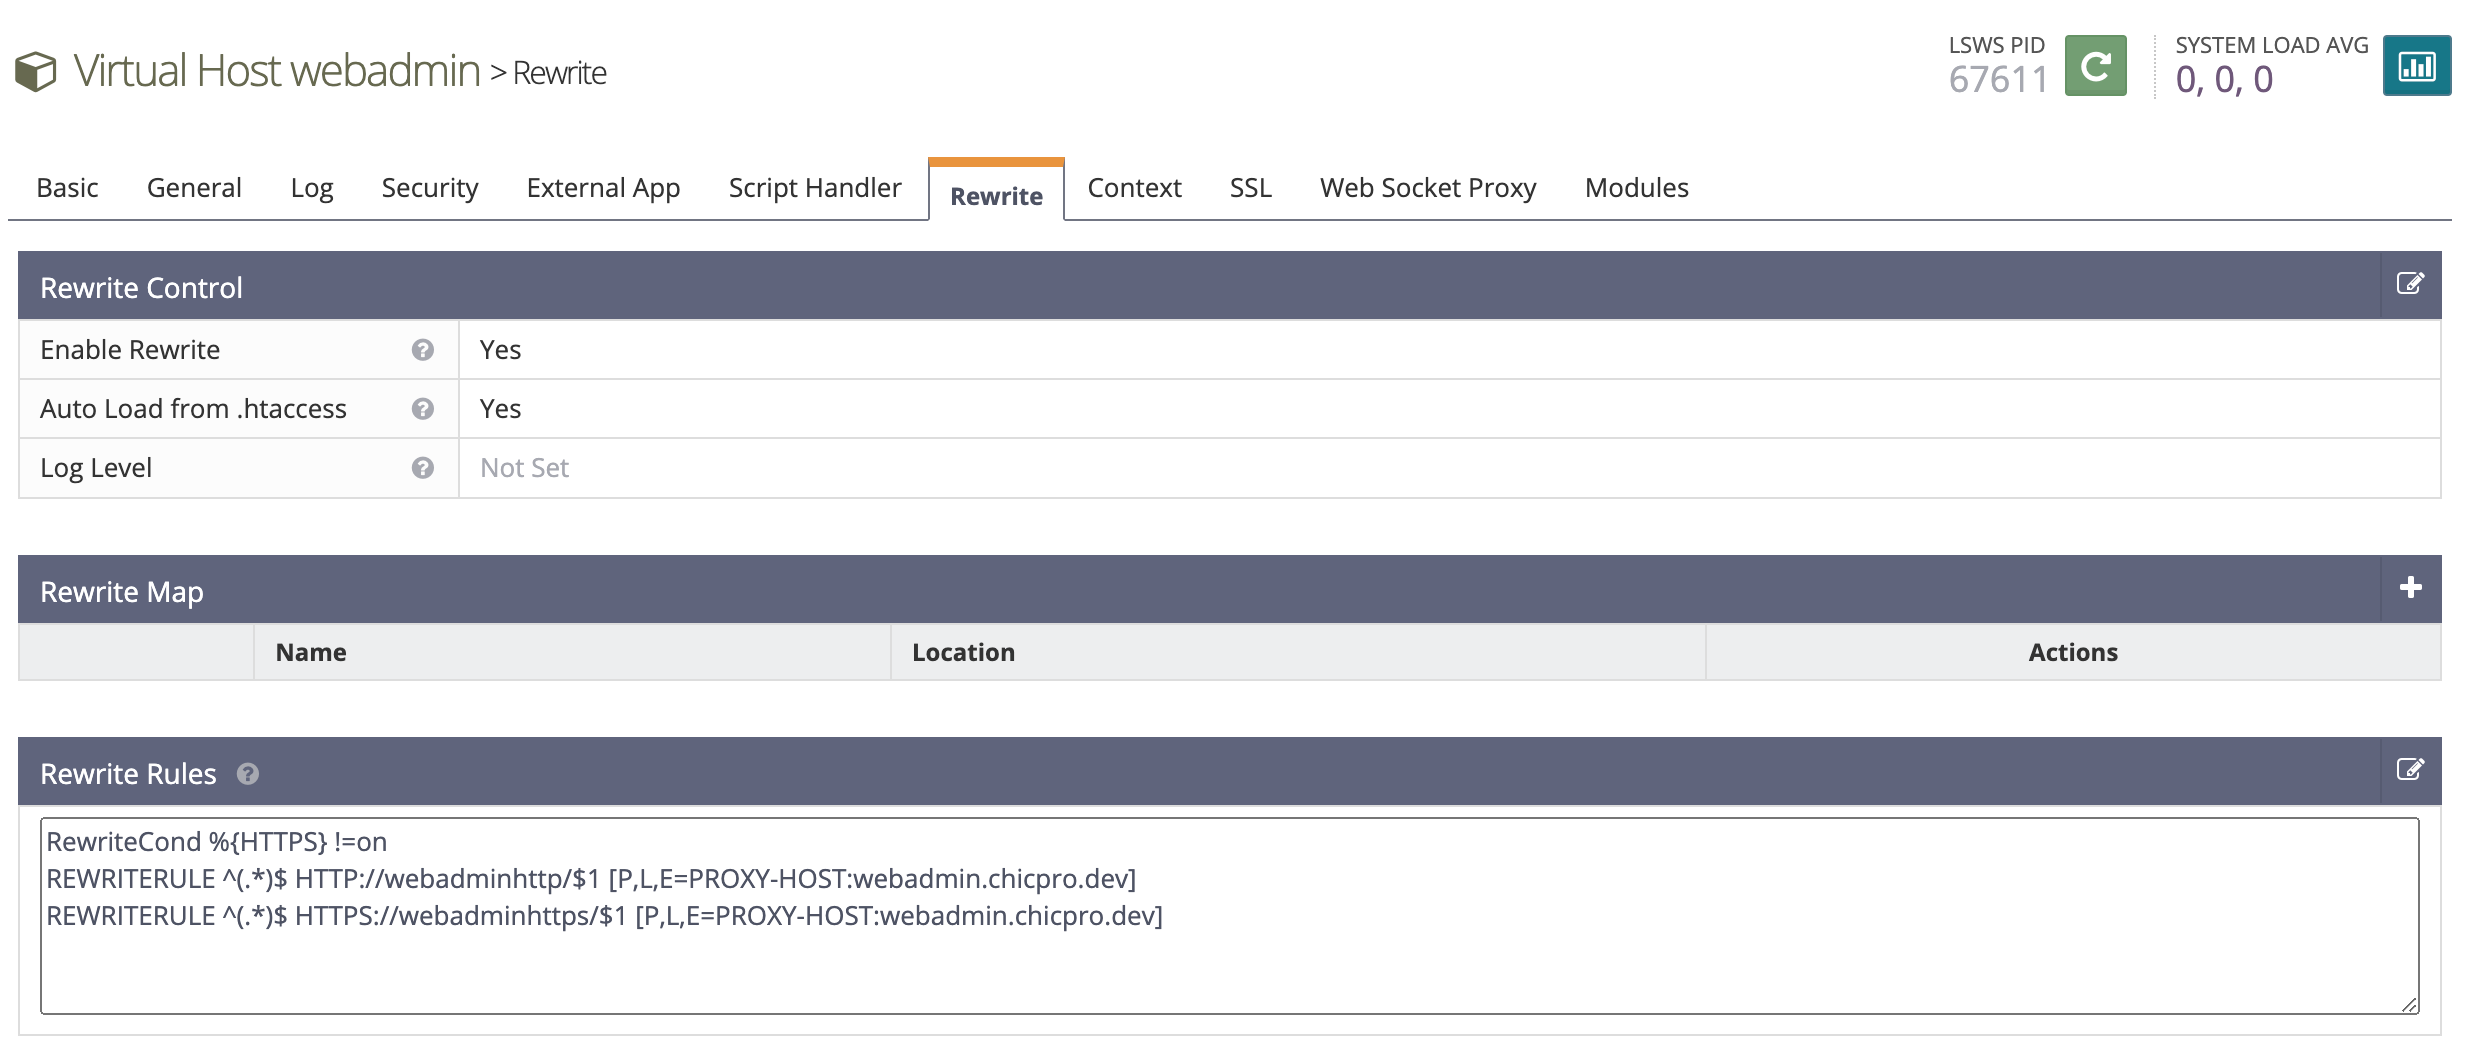
RewriteCond %{HTTPS} !=on
REWRITERULE ^(.*)$ HTTP://webadminhttp/$1 [P,L,E=PROXY-HOST:webadmin.chicpro.dev]
REWRITERULE ^(.*)$ HTTPS://webadminhttps/$1 [P,L,E=PROXY-HOST:webadmin.chicpro.dev]
위와 같이 설정 후 해당 도메인으로 접속하면 OpenLiteSpeed 웹어드민 화면이 표시되는 걸 확인할 수 있다.
참고자료 : https://openlitespeed.org/kb/reverse-proxy-basics/