OpenLiteSpeed 웹서버에 HTTP 인증 적용
OpenLiteSpeed 웹서버에 HTTP 인증을 적용하는 방법을 알아보자. OpenLiteSpeed 웹서버는 Realm 을 이용해서 인증처리한다. 설정은 웹어드민 환경에서 진행한다.
인증을 적용한 Virtual Host 에서 Realm 설정을 추가한다.
![](https://chicpro.dev/wp-content/uploads/2024/05/openlitespeed_vhost_realm-1000x87.png)
![](https://chicpro.dev/wp-content/uploads/2024/05/openlitespeed_vhost_realm_add-1000x600.png)
![](https://chicpro.dev/wp-content/uploads/2024/05/openlitespeed_vhost_realm_list-1000x104.png)
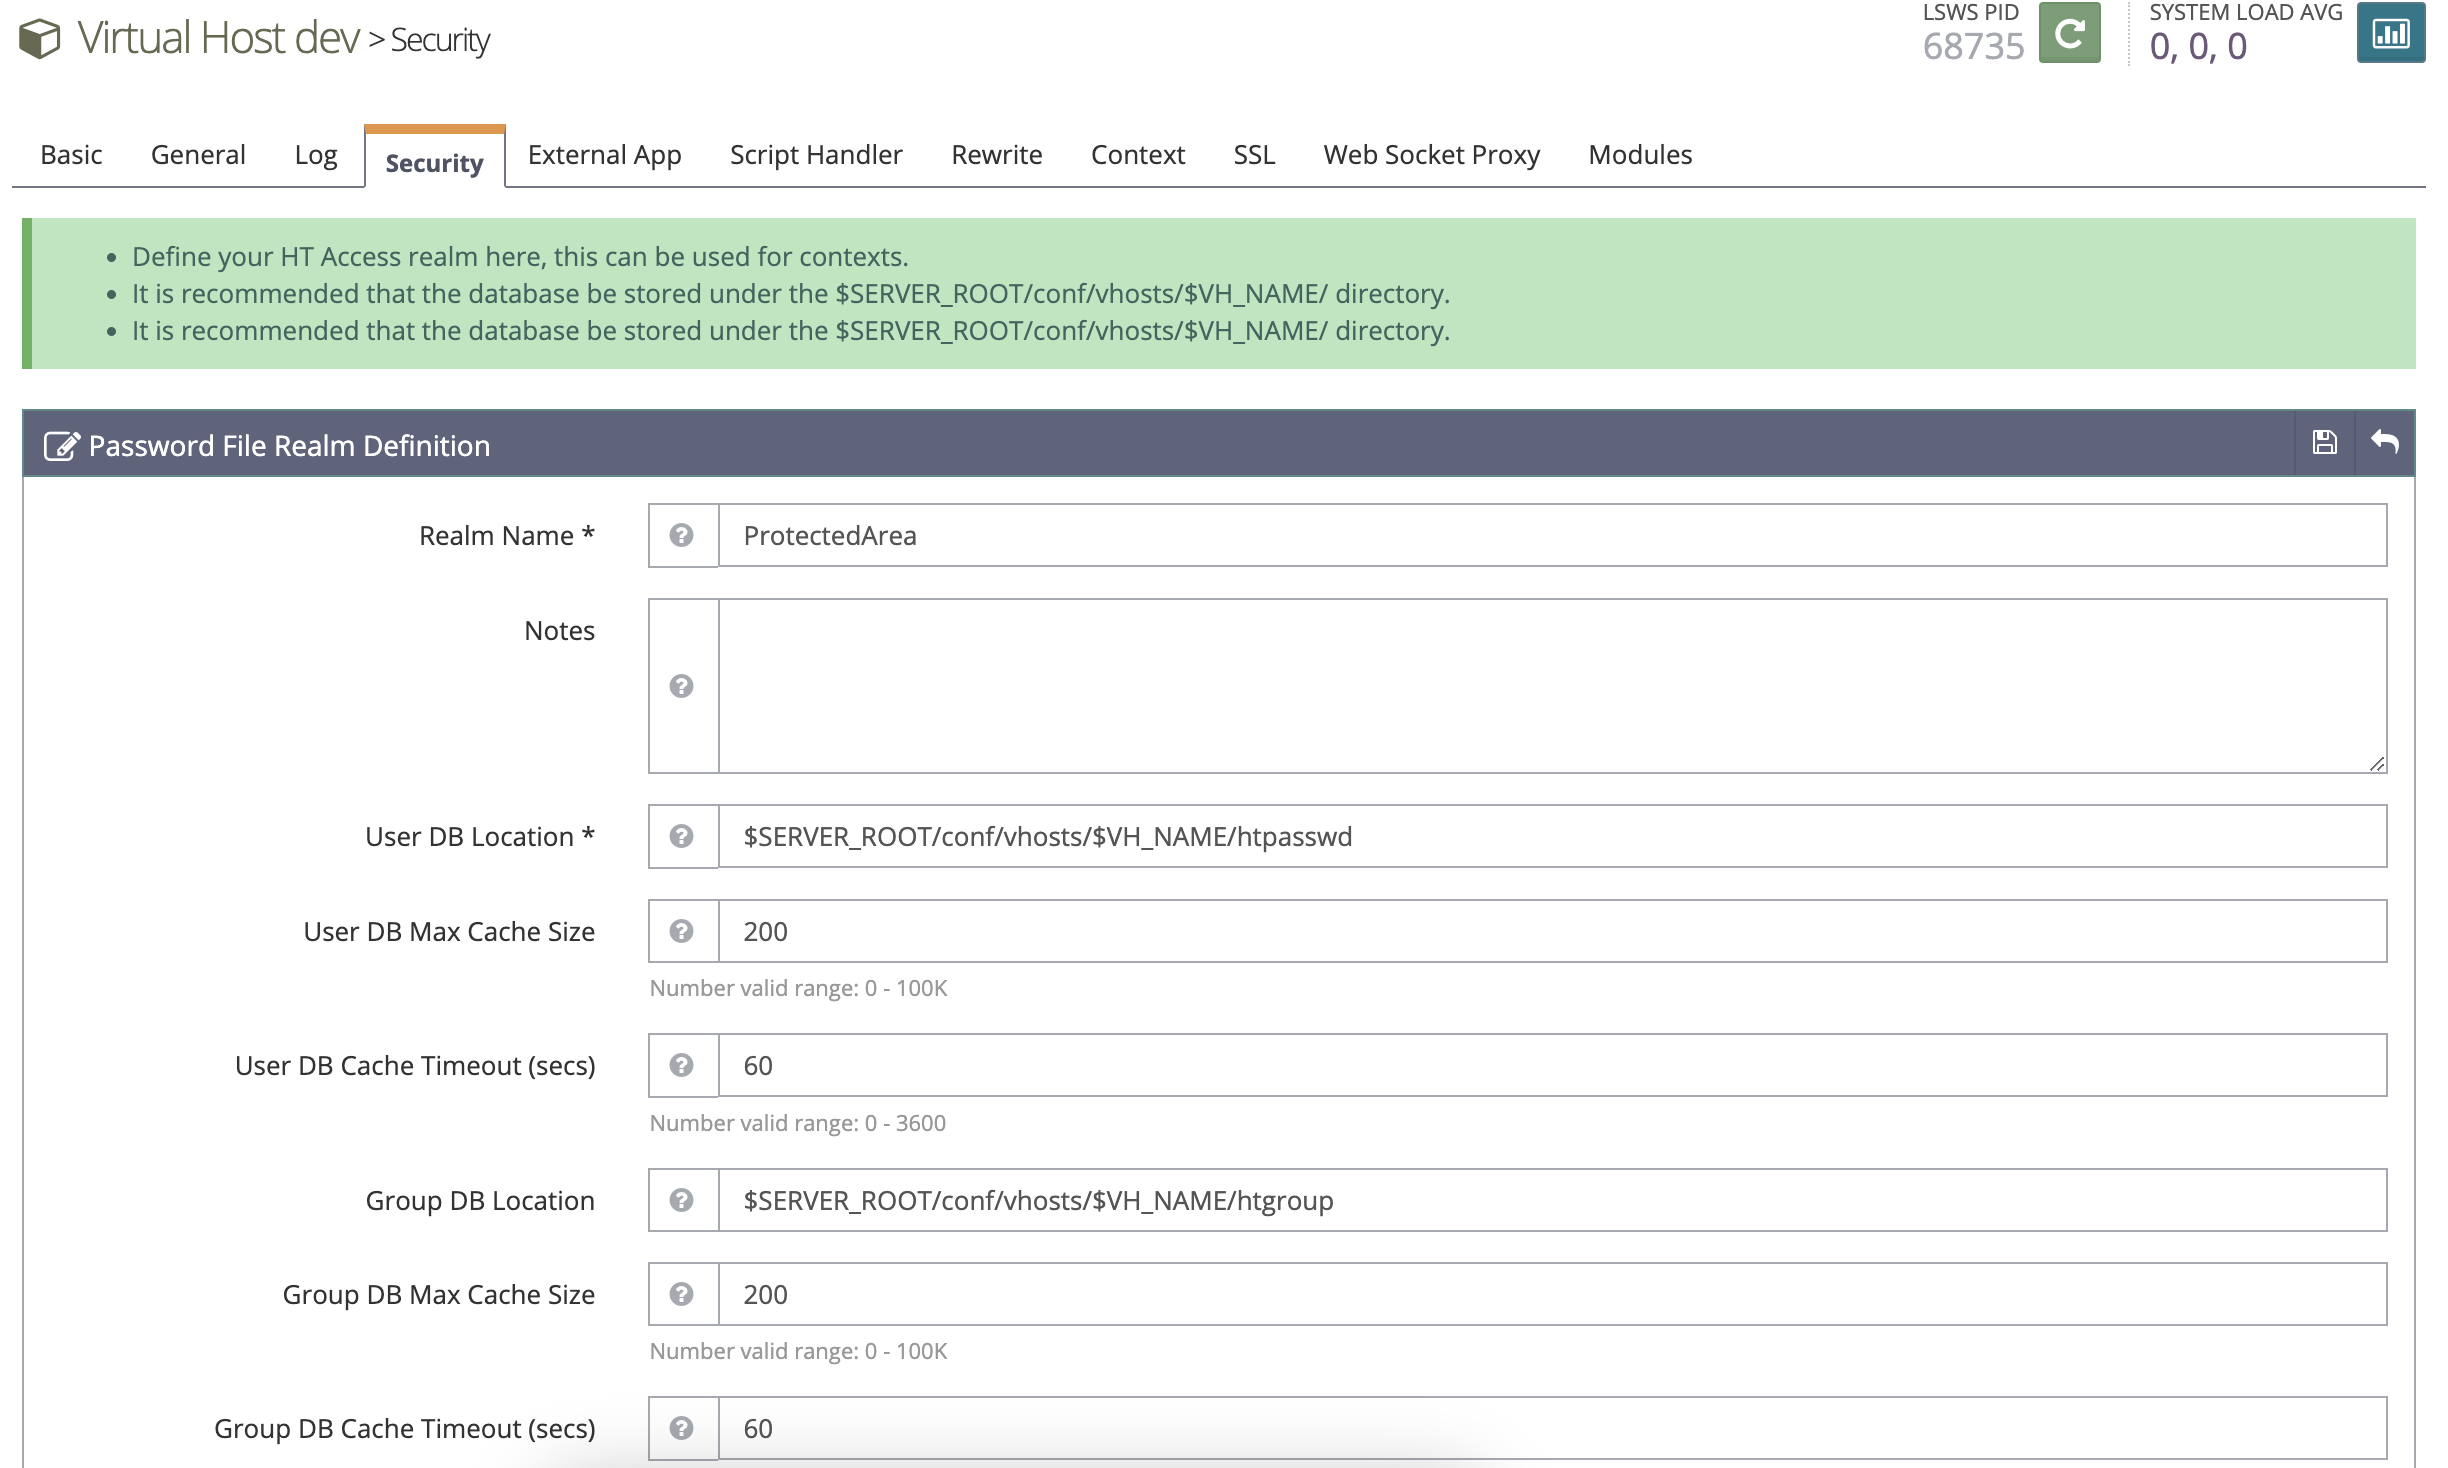
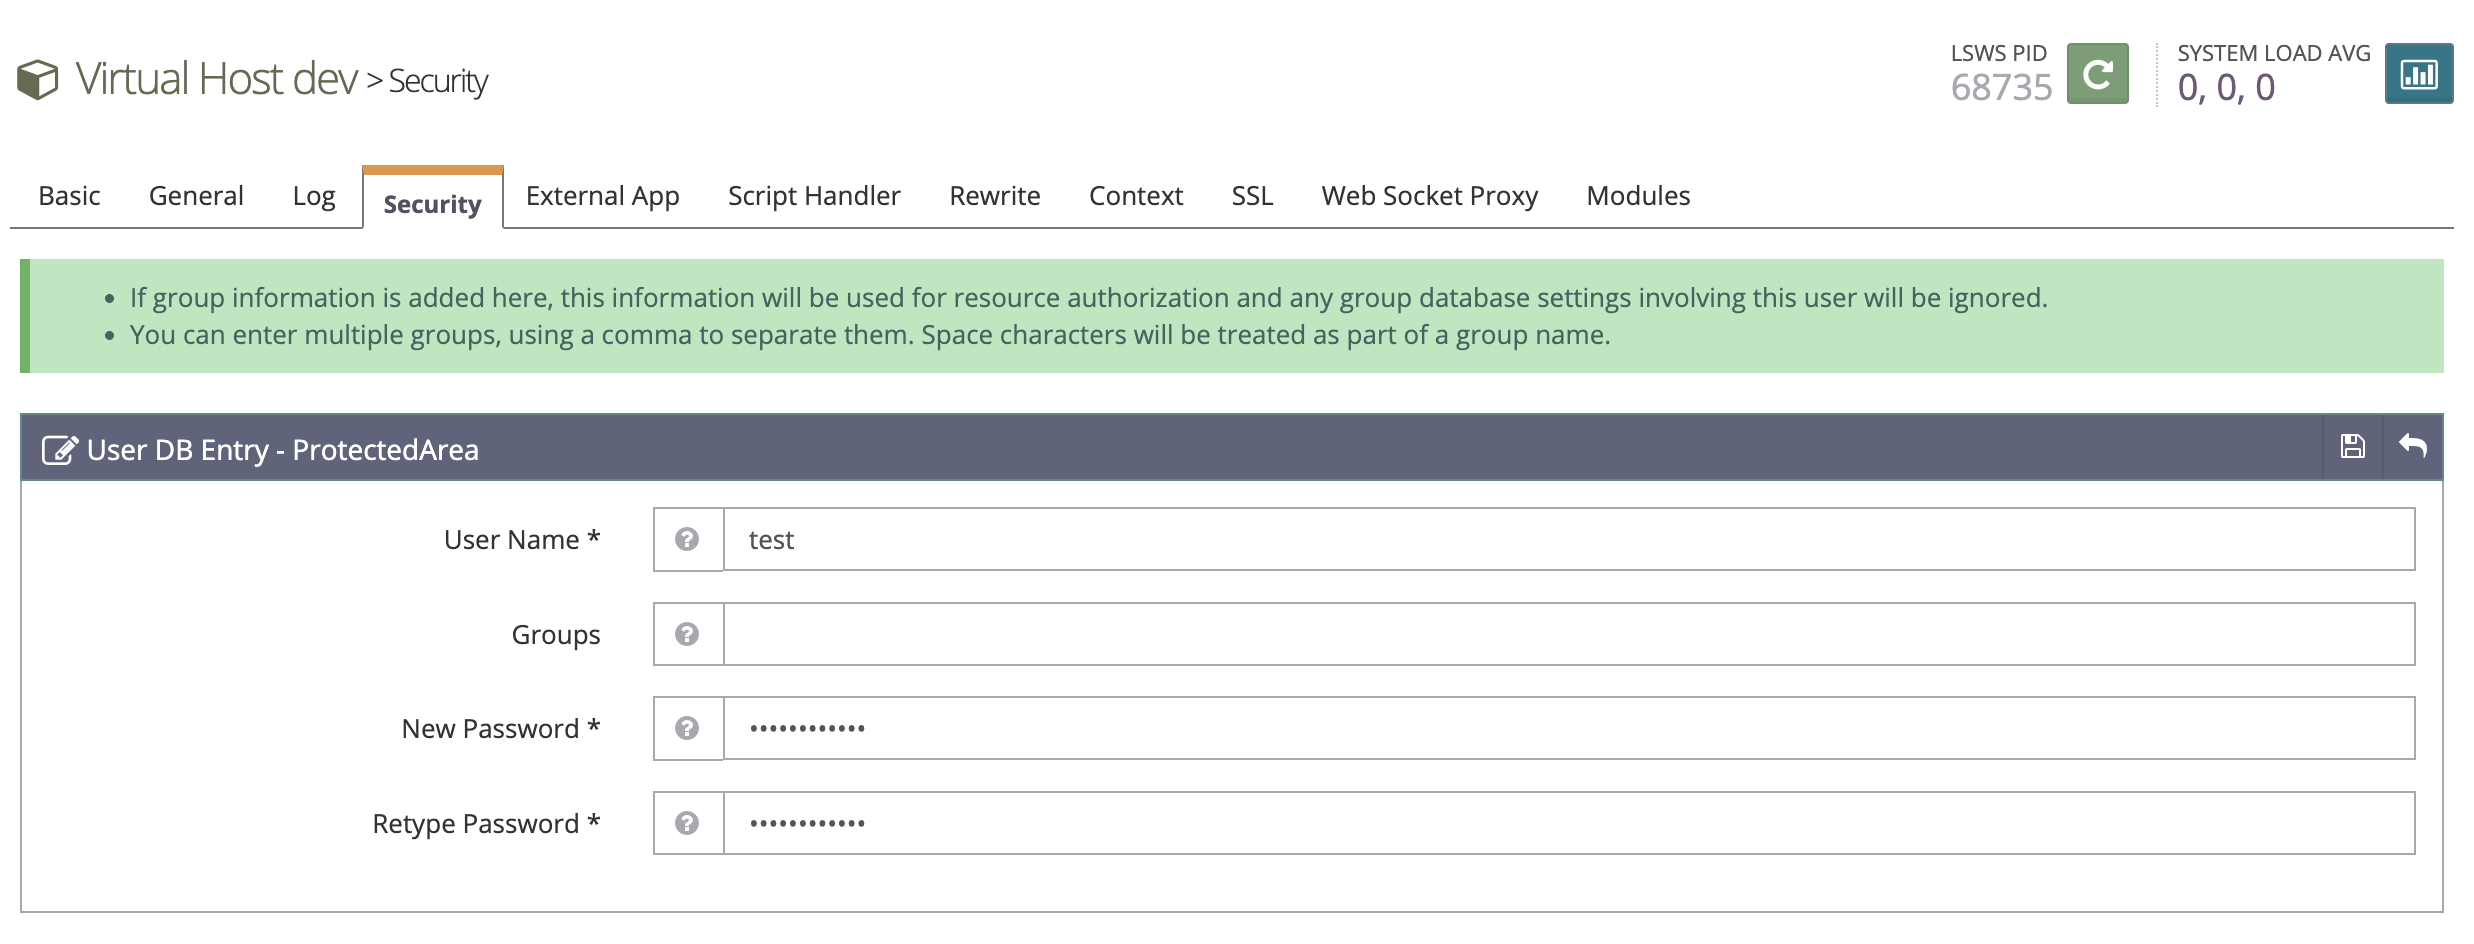
Realm 추가 후 인증에 사용할 User 와 Password 를 추가한다.
![](https://chicpro.dev/wp-content/uploads/2024/05/openlitespeed_vhost_realm_user-1000x338.png)
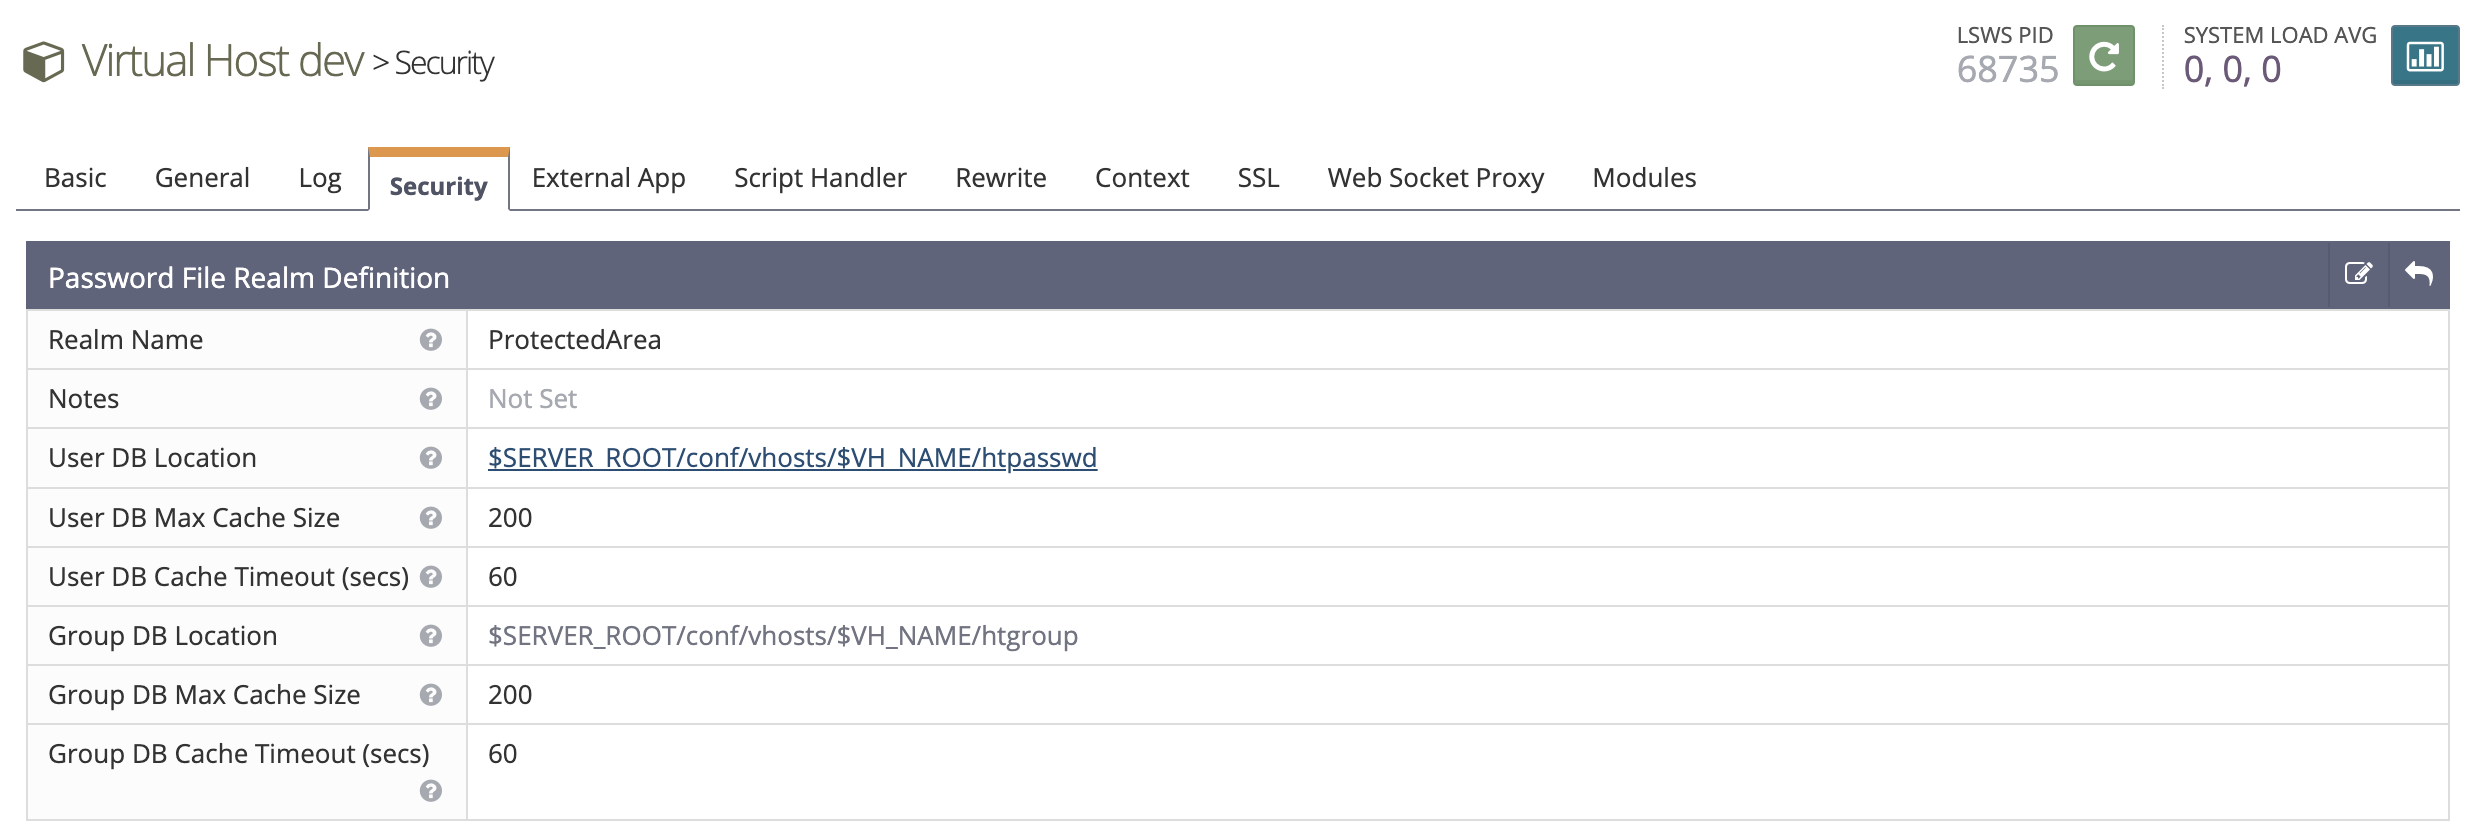
위 이미지의 User DB Location
항목의 파일 경로를 클릭하면 User를 추가할 수 있는 화면으로 이동한다.
![](https://chicpro.dev/wp-content/uploads/2024/05/openlitespeed_vhost_realm_user_add-1000x170.png)
![](https://chicpro.dev/wp-content/uploads/2024/05/openlitespeed_vhost_realm_user_form-1000x382.png)
![](https://chicpro.dev/wp-content/uploads/2024/05/openlitespeed_vhost_realm_user_list-1000x196.png)
이제 인증 적용을 위해 Virtual Host 설정 탭중 Context 탭으로 이동한다.
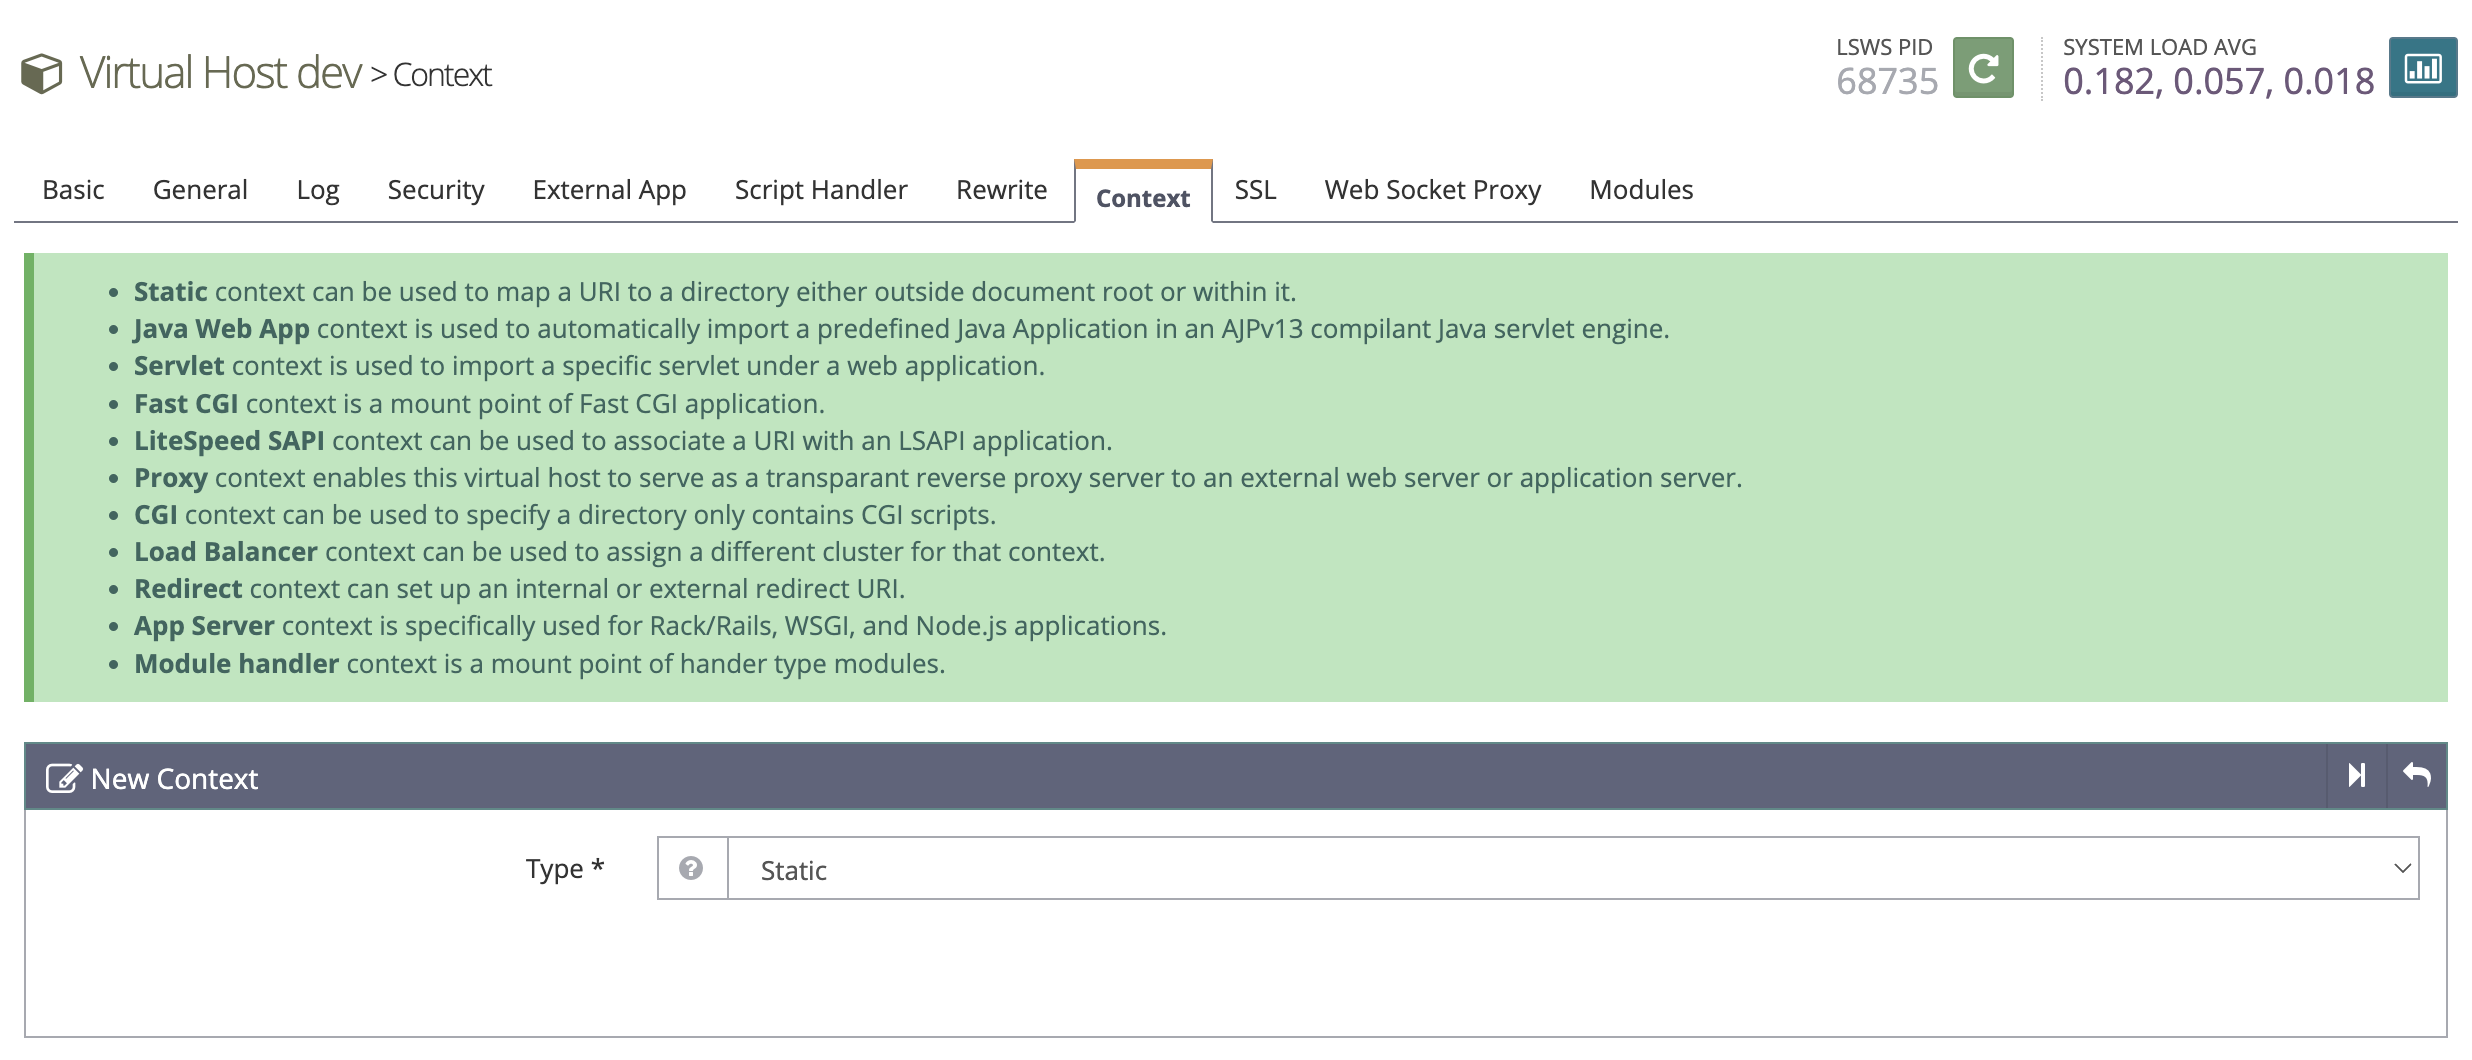
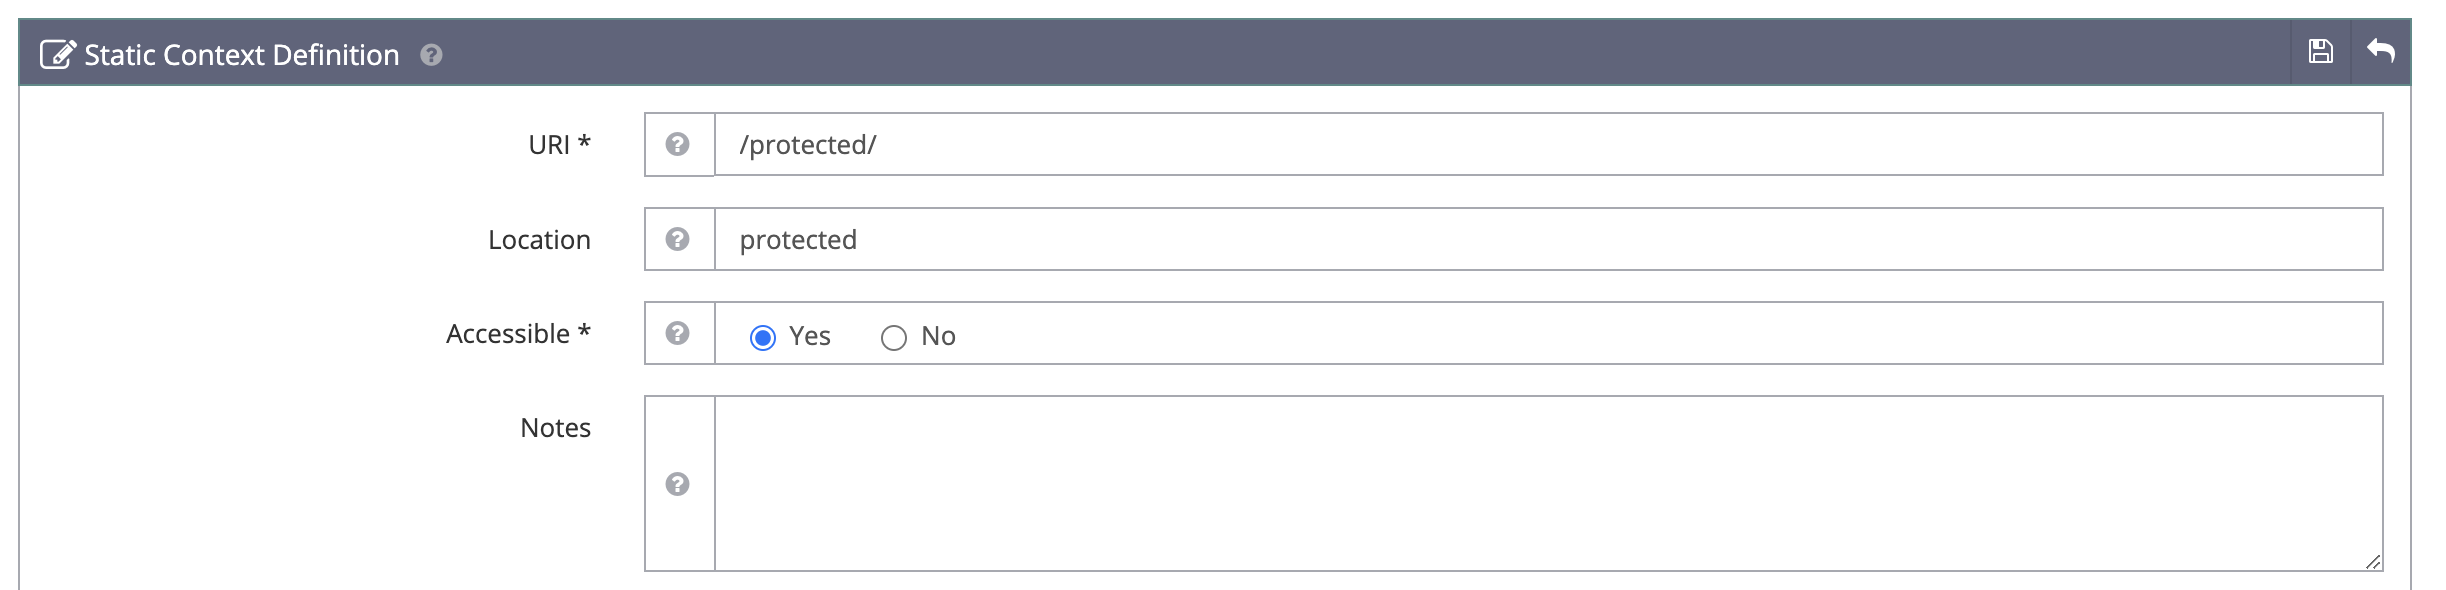
![](https://chicpro.dev/wp-content/uploads/2024/05/openlitespeed_vhost_context-1000x429.png)
![](https://chicpro.dev/wp-content/uploads/2024/05/openlitespeed_vhost_context_add_1-1000x241.png)
![](https://chicpro.dev/wp-content/uploads/2024/05/openlitespeed_vhost_context_add_2-1000x199.png)
설정은 URI
, Location
, Accessible
, Realm
, Authentication Name
, Access Allowed
에 대해서 설정하면 된다. Realm 은 위에서 추가한 설정을 선택하면 된다. OpenLiteSpeed 웹서버 재시작 후 해당 URL 로 접속하면 아래와 같은 인증창이 표시되고 위에서 추가한 User/Password 로 로그인 하면 된다.
![](https://chicpro.dev/wp-content/uploads/2024/05/openlitespeed_basic_auth-500x319.png)
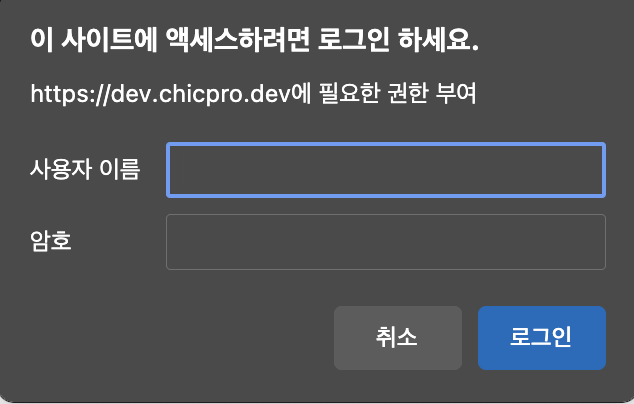
그런데 이렇게 설정하고도 계속해서 위의 인증창이 표시된다면 htpasswd
파일에 접근하지 못해서 발생하게 된다. 아래와 같이 디렉토리의 퍼미션을 변경해 준다.
sudo chmod 755 /usr/local/lsws/conf/vhosts
sudo chmod 755 /usr/local/lsws/conf/vhosts/dev
htpasswd
파일 경로로 지정한 $SERVER_ROOT/conf/vhosts/$VH_NAME
디렉토리의 퍼미션을 변경하는 것이다.
참고자료 : https://openlitespeed.org/kb/user-authentication-through-realms/