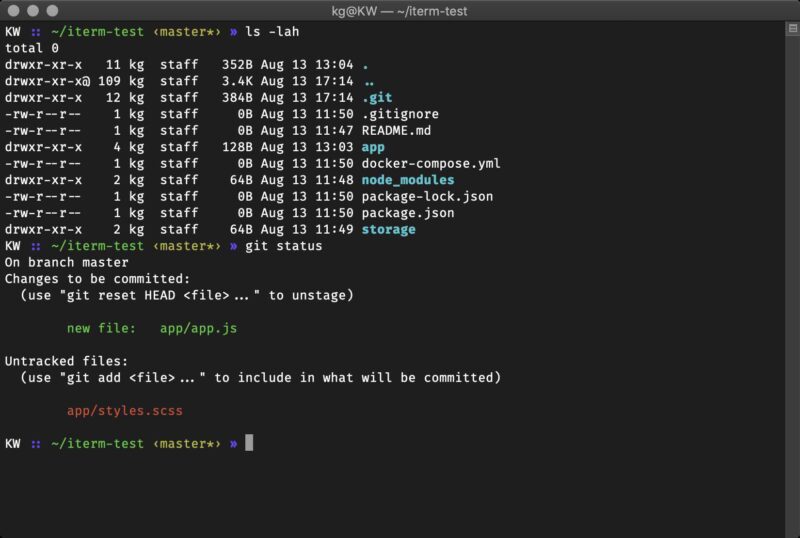
맥북 터미널 사용성 개선을 위한 zsh 플러그인 설치
개발을 하다 보니 알게 모르게 맥북에서 터미널을 사용하는 경우가 많다. 터미널 사용 때 편의성 개선을 위해 아래 두 개의 zsh 플러그인을 설치할 예정이다.
- zsh-syntax-highlighting
- zsh-autosuggestions
설치는 brew 를 이용해서 진행할 예정이고 brew 가 설치되어 있지 않다면 아래 명령을 통해 설치를 진행한다.
/bin/bash -c "$(curl -fsSL https://raw.githubusercontent.com/Homebrew/install/HEAD/install.sh)"oh-my-zsh 가 설치되어 있지 않다면 아래 명령을 통해 설치를 진행한다.
sh -c "$(curl -fsSL https://raw.githubusercontent.com/ohmyzsh/ohmyzsh/master/tools/install.sh)"플러그인 설치는 아래와 같이 진행한다.
brew install zsh-autosuggestions
brew install zsh-syntax-highlighting
설치를 마친 후 플러그인을 사용하기 위해서는 ~/.zshrc 파일에 아래의 내용을 추가해줘야 한다.
source /opt/homebrew/share/zsh-autosuggestions/zsh-autosuggestions.zsh
source /opt/homebrew/share/zsh-syntax-highlighting/zsh-syntax-highlighting.zsh
zsh-syntax-highlighting 활성화 후 highlighters directory not found 오류가 화면에 표시된다면 ~/.zprofile 파일에 아래의 내용을 추가해 준다.
export ZSH_HIGHLIGHT_HIGHLIGHTERS_DIR=$HOMEBREW_PREFIX/share/zsh-syntax-highlighting/highlighters위에서는 brew 를 이용한 설치를 살펴봤다. 이번에는 oh-my-zsh 플러그인 방식으로 설치하는 법을 알아보겠다.
git clone https://github.com/zsh-users/zsh-syntax-highlighting.git ~/.oh-my-zsh/custom/plugins/zsh-syntax-highlightinggit clone https://github.com/zsh-users/zsh-autosuggestions ~/.oh-my-zsh/custom/plugins/zsh-autosuggestions 플러그인 설치 완료 후 ~/.zshrc 파일의 plugins 부분에 설치한 플러그인을 추가해 준다.
plugins=([plugins...] zsh-autosuggestions zsh-syntax-highlighting)zsh-syntax-highlighting 활성화 후 highlighters directory not found 오류가 화면에 표시된다면 ~/.zprofile 파일에 아래의 내용을 추가해 준다.
export ZSH_HIGHLIGHT_HIGHLIGHTERS_DIR=$HOME/.oh-my-zsh/custom/plugins/zsh-syntax-highlighting/highlighters추가로 oh-my-zsh 자동 업데이트를 위해서는 autoupdate 플러그인을 설치하면 된다.
git clone https://github.com/TamCore/autoupdate-oh-my-zsh-plugins ~/.oh-my-zsh/custom/plugins/autoupdate설치 후 ~/.zshrc 파일 plugins 설정에 autoupdate 를 추가해 준다.
plugins=([plugins...] zsh-autosuggestions zsh-syntax-highlighting autoupdate)